Veggie Garden Evolution
Having grown up in the English countryside watching my mother nurture and grow vegetables in the garden, fruit in the green house and apples in the orchard, I always knew I wanted to be able to do the same when we bought our first home and grew a little family.
Where it all began.
It all started with a simple planter box along the shed where we grew lettuce and zucchinis, but my interest in going all-in on this veggie garden idea took hold about 4 years ago when I propagated a rosemary sprig.
Although half of our garden is propagated from the plants that existed when we first bought our home, there was something about propagating a rosemary sprig into a bush and being able to smell AND eat it that I loved! And so began my long journey of growing the sprig, (which all of you on Instagram named Spike!) into a proper plant.
Here’s 3 easy steps to propagate your own rosemary:
Place one sprig of rosemary into a cup of water and change the water every few days.
Once you see roots start to appear, place the rosemary into a small pot with soil.
As it grows, ( few weeks) upgrade the rosemary into bigger pot to give it space to thrive.
It did take a good year to achieve, and at one point I thought it was dead, but it bounced back and now it’s huge! (Apparently you can plant the sprig straight into the ground, but I didn’t have much success with this approach.) Watch BTS here.
Before
After
Next came the ‘Tiny window sill garden’.
You probably saw me sharing this with you all on Instagram, if you didn’t, you can catch the entire process here. I had a store-bought lettuce and celery and decided I wanted to try and regrow it again in water.
I took exactly the same approach as I did with the rosemary, but instead of transferring the lettuce and celery into pots, I planted them straight into the veggie garden.
It was definitely trial and error, but I managed to have one successful lettuce and one celery that turned into about 60 stalks! It was so much fun and I loved watching so many of you take part in the process as well to reuse and make more of your own produce.
With our passion for homegrown produce now well and truly established, we decided that one veggie bed wasn’t enough for all the healthy food we love to eat, so we added three more!
Pictured below the tiny window garden celery picked.
Here’s how we created our garden beds:
● The space dictated how many garden beds we could have, so we settled on four. We worked the garden beds out by the sleeper lengths, minimising cuts and wastage.
● We used garden sleepers. They can be any size that fits your space. For us we used 2.4m lengths and cut them in half for the width. Easy!
● It’s also important to take size into consideration from a practicality perspective. If the beds are too wide, it makes it hard to garden and reach the vegetables in the middle, and if they’re too narrow then it’s a waste.
● I knew we wanted the vegetable garden to fit in with its surrounding, which is right by our shed which is painted black. I knew if the plant beds were black then the produce would really pop when it was all green and growing, and it would also look amazing and smart!
Watch here behind the scenes of how we built the veggie garden beds!
Watch here how we prep our garden for seasons and how we made the bamboo trestle, Inspired by our recent trip back to England.
Our choice of Fruits & Vegetables:
Spinach
Lettuce (lots of types)
Tomatoes
Strawberries
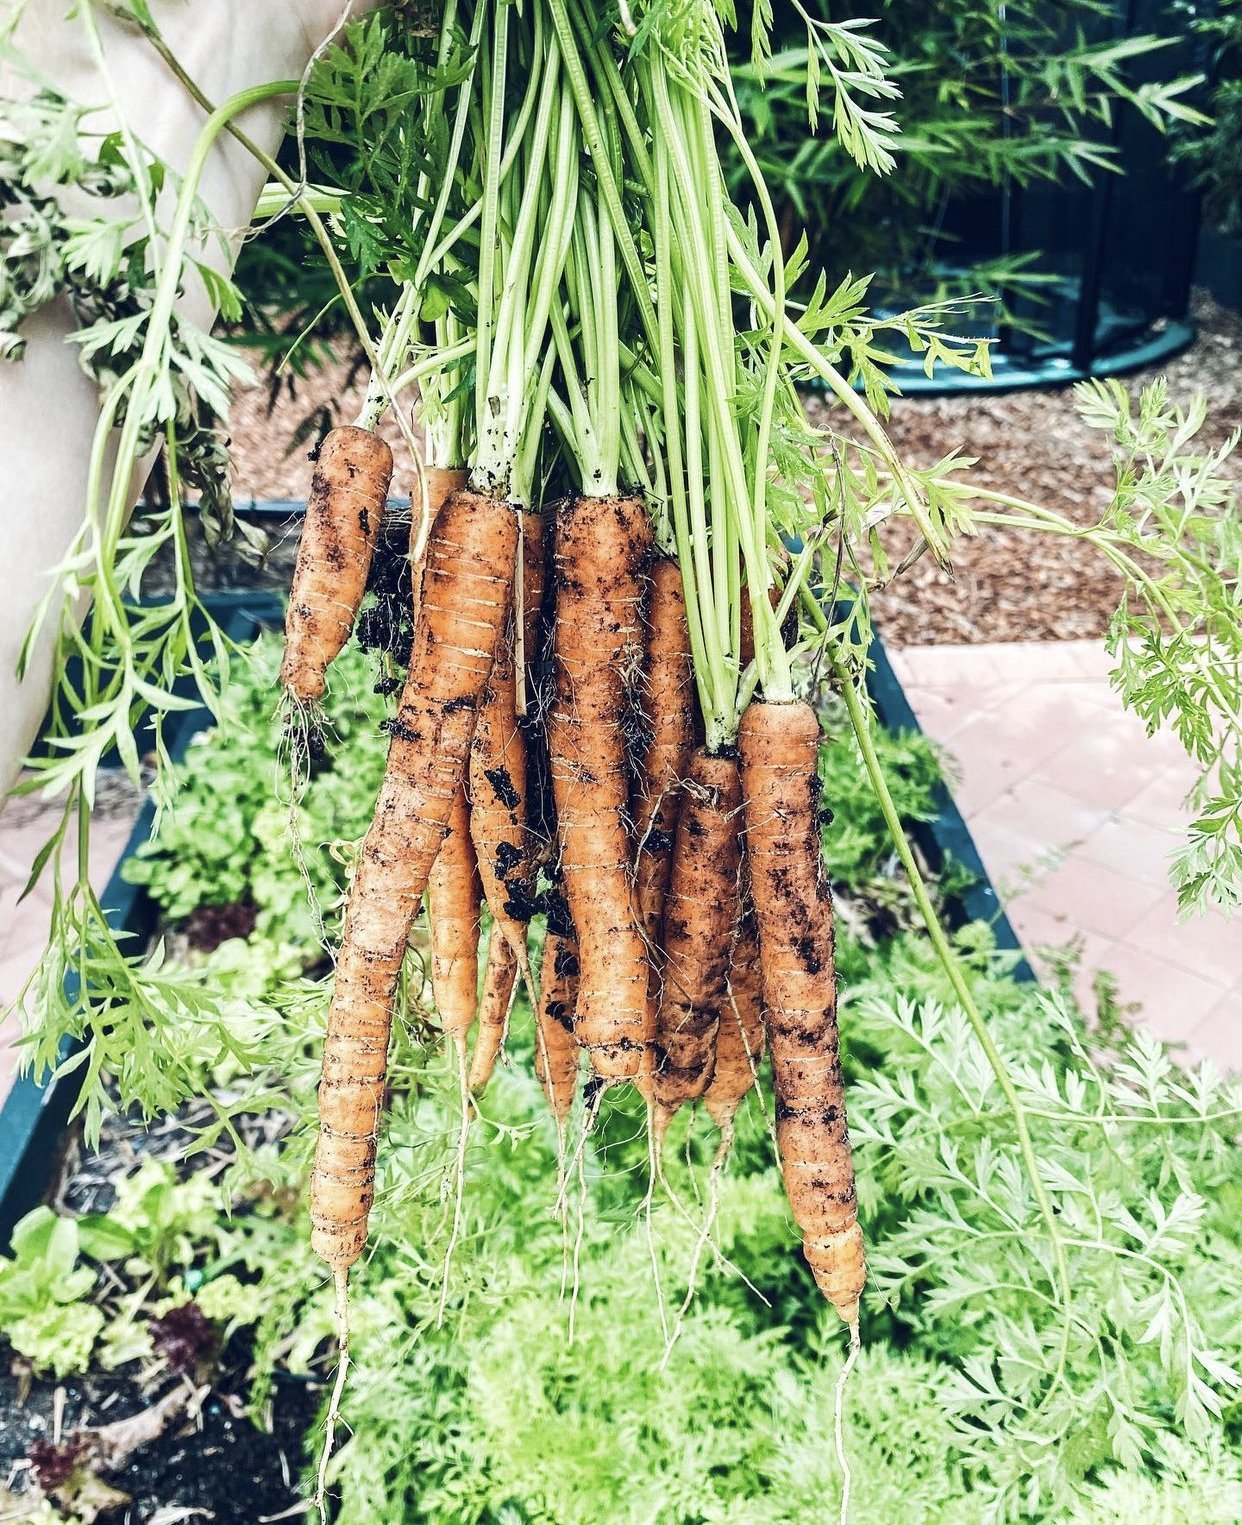
Carrots
Celery
Bok choy
Cucumber
Red cabbage
Zuccini
Bananas (We have a banana tree!)
Herbs:
Basil
Mint
Chives
Cilantro
Rosemary
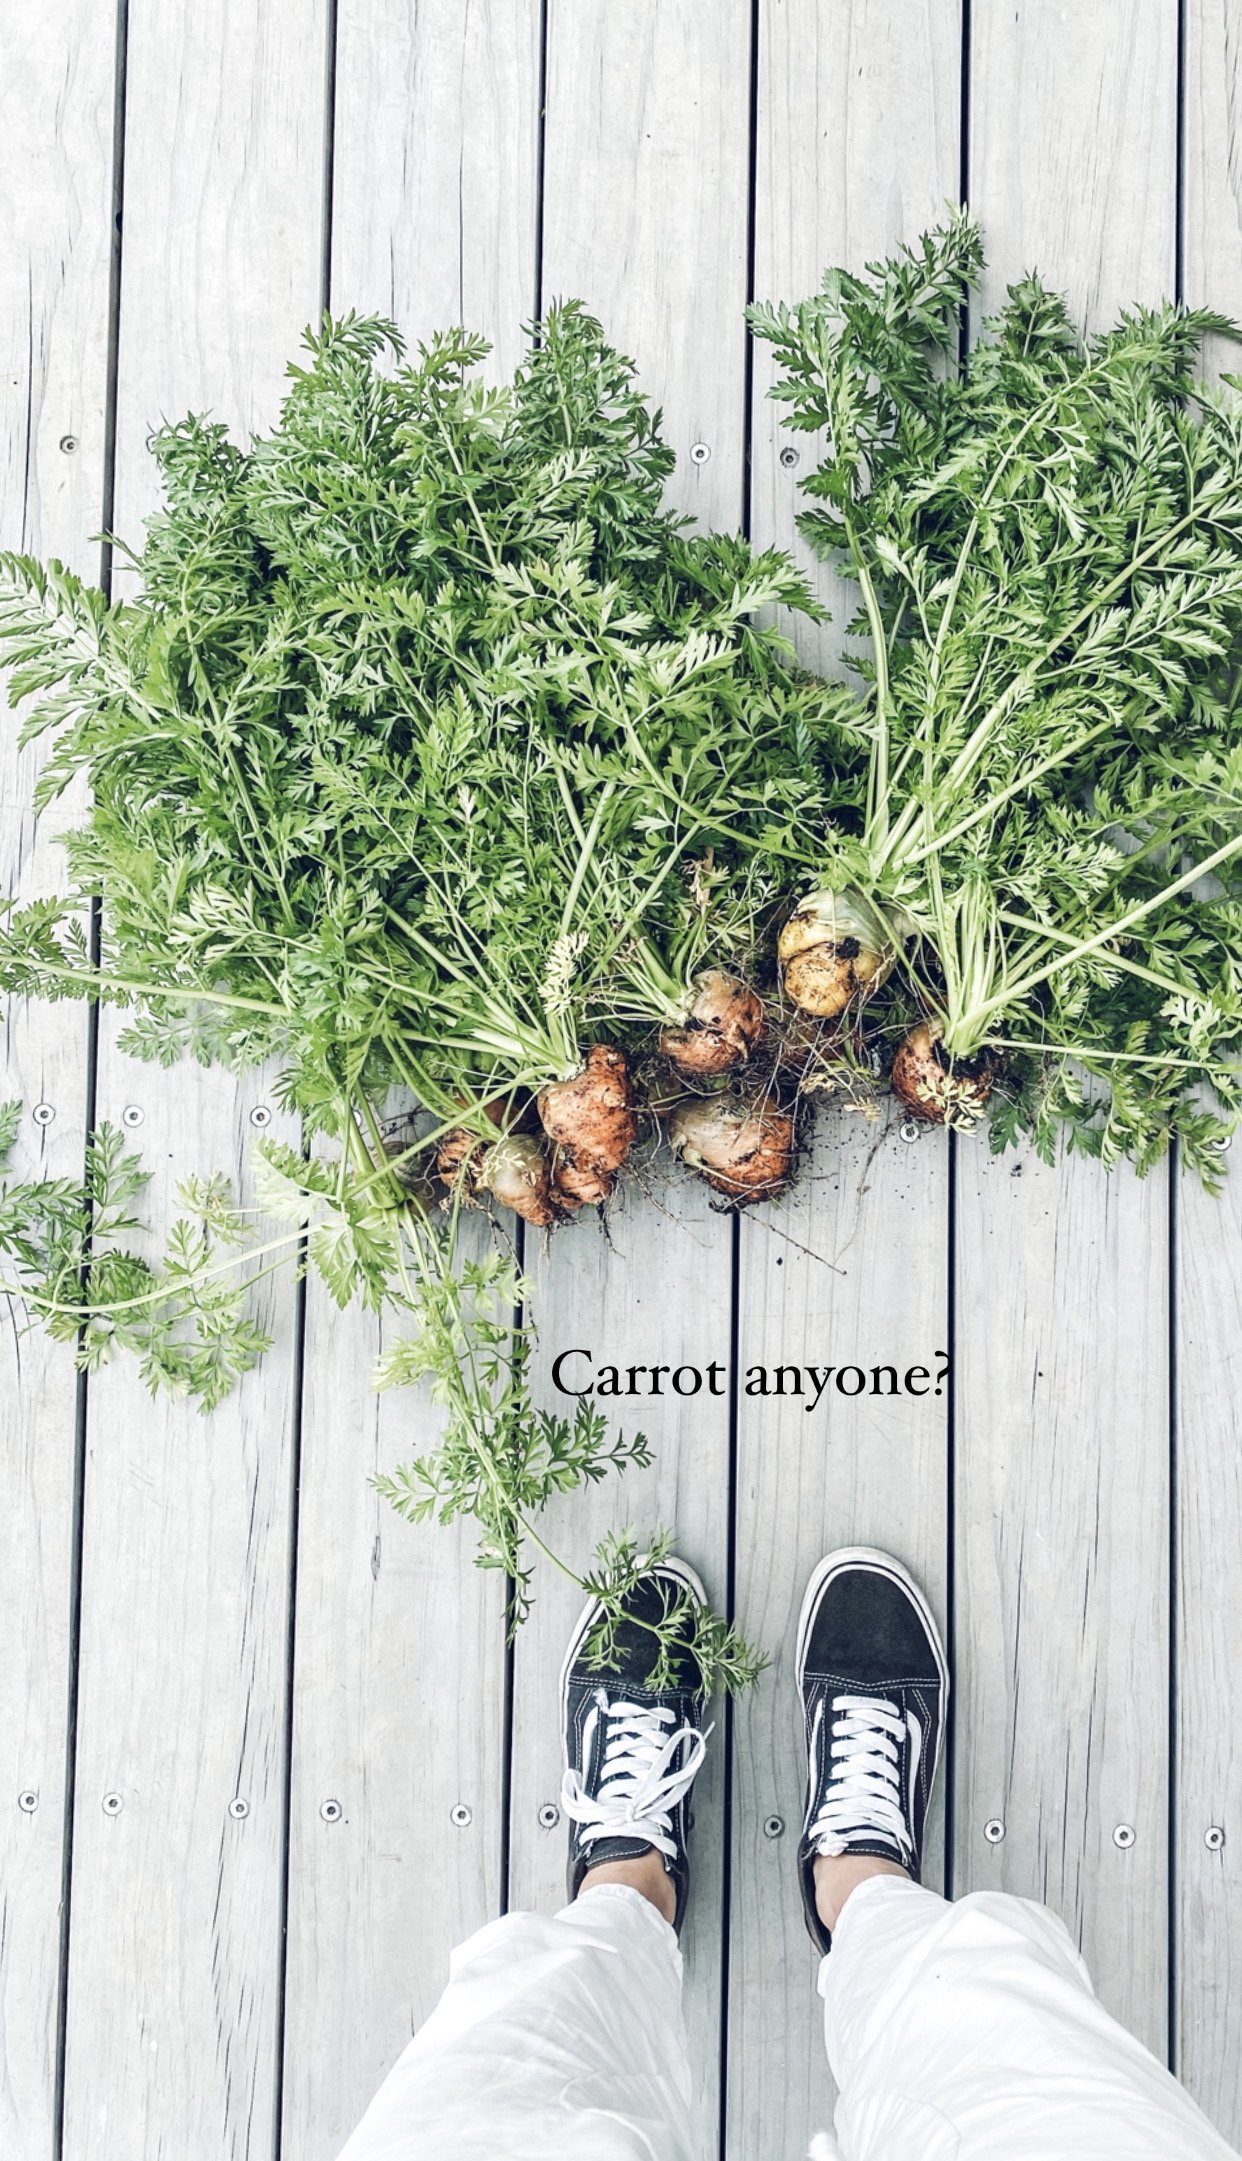
We had success with all of these fruits, vegetables and herbs—although I’ll admit the carrots were a challenge! (You might have seen me share this on Instagram!)
Didn’t stop us from from using what we had to turn it into something.
Tips for Growing Carrots
Use seeds from a garden centre
Turn the soil before planting, the soil needs to be very loose for the carrots to grow down!
Add in a little organic fertiliser if possible mixed with fresh organic soil.
Plant in straight lines following the guidelines on the packs to how far they should be spaced.
Water regularly
Leave them to grow, don’t be swayed to check how deep they are growing, carrots don’t like to be touched. Trust me!
How do we keep bugs, pests and bugs from eating our veggies?
We like to use a natural plant spray that I make with Essential Oils! Plants for plants I always say.
Veggie Garden Spray
16 oz spray bottle (500ml)
20 drops peppermint oil
20 drops purification oil
10 drops Rosemary oil
Top with water, shake and spray directly onto garden vegetables!
If you’re interested in learning more about using essential oils in your home, click here for more information on the starter bundle and to get started!
This year we are trying something new having seen in Yates book and from last years experience…We are planting Marigolds and Kale in the centre of our veggie garden beds to deter the pests! FIY bugs love kale! By doing this we are encouraging the bugs and slugs to eat the kale instead of our fresh produce.
Over the years Ben and I have become increasingly fond of planting, nurturing and picking our own food. I just love how resourceful and practical it is to have our own veggie garden. We also love getting the kids involved with planting and meal prepping, so they understand the process of where our food comes from and how enjoyable it can be.
Watch us preparing the veggie garden for spring!
Veggie Garden Prep for Spring
Step by Step
Every August we prep the veggie garden for Spring. It is one of those quintessential moments to remind us Spring is just around the corner!
Remove all debris, veggies that have gone to seed.
Turn over the soil
Add fresh organic compost mix, and rooster booster, (chicken poo)
Combine everything together using a handheld fork
Chose your veggies! After years of experimenting, we know what we actually eat and use. Popular Spring vegetables in the Southern Hemisphere include, Spring onions, tomatoes, spinach, lettuce, kale, strawberries, asian vegetables, beans, Chinese cabbage ect. You can also use this seasonal food guide to help you.
Head to your local nursery to get your selection! We always choose seedlings! Easy to transfer and begin their growth.
Depending on what you have chosen, use the guidelines on the label to help you plant within the recommended distance of each seedling.
For the final touch, add Eucalyptus Multch over the top of the beds, to keep the moisture in and help deter pests. (another great tip for deterring pests is planting marigolds next to the veggies.
Meet Maddy
Hi, and welcome friends!
We believe in creating and living in a home you love.
Welcome to our journey of renovating our 1950’s red brick house and making it our home. We’re so happy to have you here and help inspire you to love where you live through DIY, design and all things home!
Recent Posts
Follow Maddy Evennett


