The Story Of Our Home
Your home is more than just a place to live; it's a reflection of who you are. Every piece of furniture, every decoration, and every design choice tells a story about your life. It's where you make memories, celebrate special moments, and feel at peace. Your home is like a canvas where your personality and style shine through. It's a reminder of your journey, your interests, and the things that matter most to you. In a world that's always changing, your home is constant place where you can always be yourself and feel a sense of belonging. Over the last six years we have been transforming our house into a home, creating our little dream oasis one space at a time! It has been an absolute joy for me to document and share this transformative journey with you all Instagram. Today, I'm excited to take you for a stroll down memory lane, where I'll outline the four main stages of our projects, showcase some incredible before-and-after pictures, and share the valuable lessons and tips we've gathered along the way.
However, before we delve into the specifics, it's worth noting that creating a home you truly love is a process that can vary greatly from person to person and project to project. Whether it’s budget, adding those personal touches that sets your home apart from anyone else’s, or adapting your spaces as your family grows, everyone's journey toward creating a place they call ‘home’ is different. It's about discovering what resonates with you, defining your dream vision, and putting in the effort to make it a reality!
Do you have a vision for your dream home? Don't wait for someone else to bring it to life first; take action and start loving where you live, today! Even if it means something as simple as painting your bedroom, adding vintage textiles, and a vase of fresh foliage. The key is to take that first step. Everyone deserves to love where they live, and let’s face it, when you love where you live, it truly betters other areas of your life too.
Ben and I started looking for our first property to purchase when we were newly married and expecting our first child in 2016. I had only been living in Australia 18months. We settled on a wish list of just 3 things our ideal home had to have.
Location. Our dream was to have a home close to the beach where our family could enjoy a laid-back beach lifestyle, in a lovely neighbourhood which was up and coming.
Fixer Upper. It had to be a house that we could renovate ourselves and make it our own. We never considered buying a new build. We wanted to make our stamp and design the house exactly how we wanted for our family. This meant that the house needed to have good bones, plenty of potential, and good energy!
Room to grow. There had to be room for it to evolve with our growing family. Oh and a garden of course…
Too much to ask?! Well, we found it.
When we saw our now-home, it was instantaneous. We hadn’t even walked through the front door before both knowing it just felt perfect for us! When you know, you know. The redbrick 1950’s fixer upper with its overgrown garden and outdated windows just gave us all the happy butterfly feelings. The house itself had so much potential and it was on a large block of 720sqm. We were told that the people who also came to view the property and looked at it and said ‘oh it’s too much work!’
Upon our initial visit to the house, we were instantly inspired by its potential. We envisioned a beautiful little white brick home with classic casement style windows. A lush green oasis surrounding the home to welcome you as you walked through the front gate with a deck surrounding the house. The colour palette was to be reflected by our surroundings close to the beach and also our roots, a combination of my English heritage and Bens Australian roots. Can one really envision that just from seeing it once? Well I did. I had a dream long before seeing this house. For years I had saved my ‘ideal homes’ with magazine cuttings, Pinterest boards and even photos from books.
2016 - The Starting Point
The house hadn’t been touched for decades and was barely habitable, so our first priority was to make it functional before moving in, as well as clean and safe. We were fortunate to get the keys a few weeks prior to the move date so we could get a head start.
We pulled up the old carpets, took down the peeling wallpaper, sanded the floors and painted the walls white. (The power of paint will always blow my mind!) We did this in a matter of weeks whilst I was in and out of hospital with a challenging first pregnancy. Thankfully, the owners who we bought our home from allowed us to get the keys a few weeks before move in date to make it a little more liveable.
Soon after we worked on the main bedroom. I always think your bedroom should be a place of rest and your sacred space. Especially when you LIVE in a renovation, it's good for the mind to leave the work behind the bedroom door so you can rest and reset! This was especially important as our first baby was also coming and I wanted a cosy and safe bedroom.
We were lucky to learn that underneath the 3 layers of carpet, was beautiful cypress pine hardwood flooring. We had it professionally sanded and then we applied matt sealer for the finish.
2016 - Stage 1
After the initial clean up, we focussed on three main areas; the kitchen, bathroom and living area; the spaces that we would spend most of our time in.
We were on a budget so DIYing 90% and outsourcing only when necessary was crucial. With a background in Art and Design and having worked for a few Interior design firms in London, and with Ben having a passion for craftsmanship, we knew we had a skill set we could use. We have a personal saying “We can do anything if we put our minds to it”. So to us, there was nothing more powerful and satisfying to test our skills and design ideas on than our first home, all while living in it and growing a family!
We prioritised the bathroom and kitchen first.
Demolition of the kitchen, with only a few months to go in my pregnancy. We had a ‘made up’ kitchen on a trestle table for a few weeks too!
We had our kitchen cabinets custom made and sprayed Taubmans black granite, but installed them ourselves to save on cost!
2018 - Stage 2
While there were lots of little projects along the way, our next major renovation was an intense 3-weeks that took place before my second born was to arrive. Along with Ben we outsourced carpenters to help us with major structural work. Before the three weeks began we had everything planned and ready to go, timed perfectly when be was scheduled off work.
From what we understand our home had a ‘new’ extension added to the house that was previously used as a sunroom ins around the 70’s. Accessing this room was peculiar and the only way for it to be utilised was walking through another bedroom. So therefore we rarely used this space and only when Ben was on nightshift. So when the time came we got certain walls removed to extend the hallway and converted two bedrooms into three to create a room for baby number two. (You can see Florence’s bedroom on this post and Teddys bedroom on this post.)This opened up the flow of our home, created more natural light and more practical for our families needs! Since then, the ‘sunroom’ has turned into a multi-functional room for our family, consisting of a guest room with bunk bunks, a storage and craft area and an office for myself.
The original floor plan. The size of our block is 720sqm. We do not have an updated floor plan to share.
We then installed new windows and doors which gave our home an entire facelift from the exterior. We have wonderful natural light in our home and installing new windows amplified this. It's remarkable how much they influence the way you feel within the various spaces of our home too. I always think investing in good windows and doors can really make a home look and feel expensive. I always had my heart set on casement windows, truly classic in English in homes!
Pictured below, after the new windows were installed. We hung temporary bamboo blinds till we invested in beautiful drapes.
The other huge project at this same time, was landscaping. (You can read more about that here.) When we purchased our home, the garden was an overgrown jungle. It was utterly chaotic, with so much wasted space. We were incredibly lucky to find so many plants to salvage, nurture back to life and replant in the garden as we landscaped.
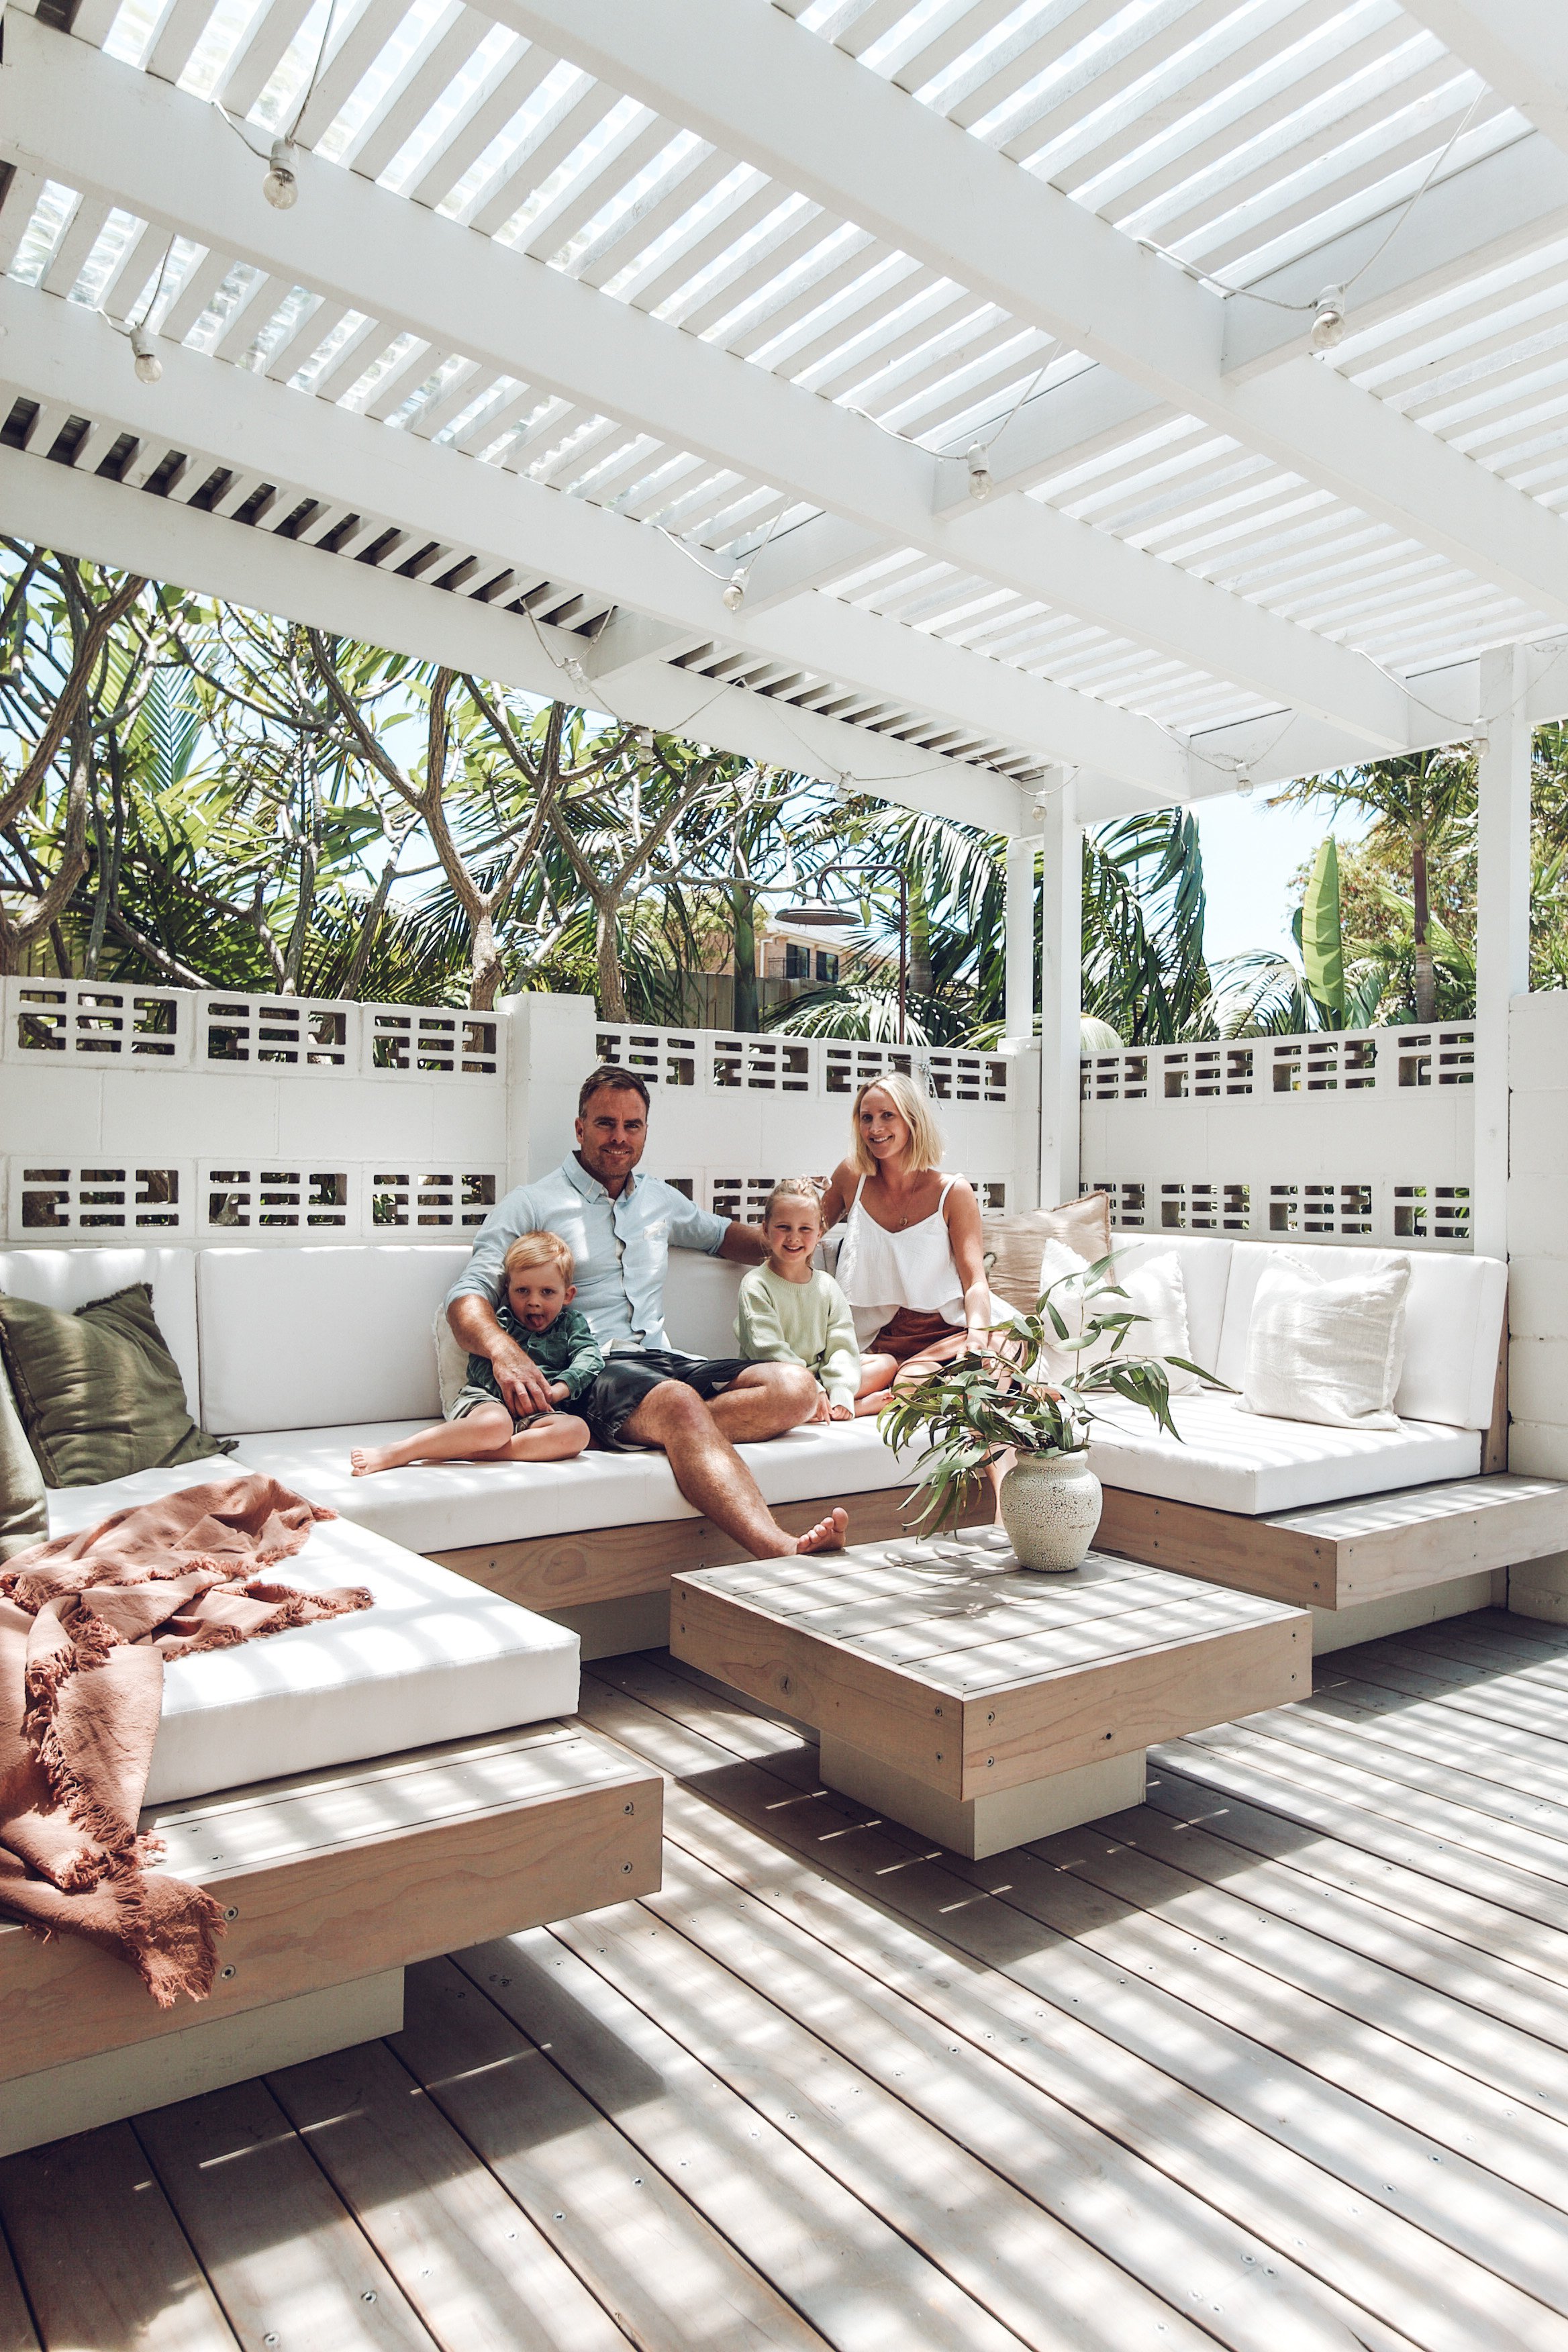
Despite having a jungle as a garden which was not usable for a few years, I made sure the existing outdoor patio was welcoming for playing outside. You can see on this post, what the outdoor living area looks like now! Love where you live no matter what stage of the journey I always say!
During this intense three week renovation we wrapped a huge deck around our home with the plan in mind of it being surrounded by tall lush greenery. (You can see lots of the landscaping process on this post here) We used pine decking and cutek grey mist to stain it instantly grey! You can see on videos how we maintain it here.
We added a boardwalk from the gate leading to the front door and a pergola which framed the entrance perfectly.
2020 - Stage 3
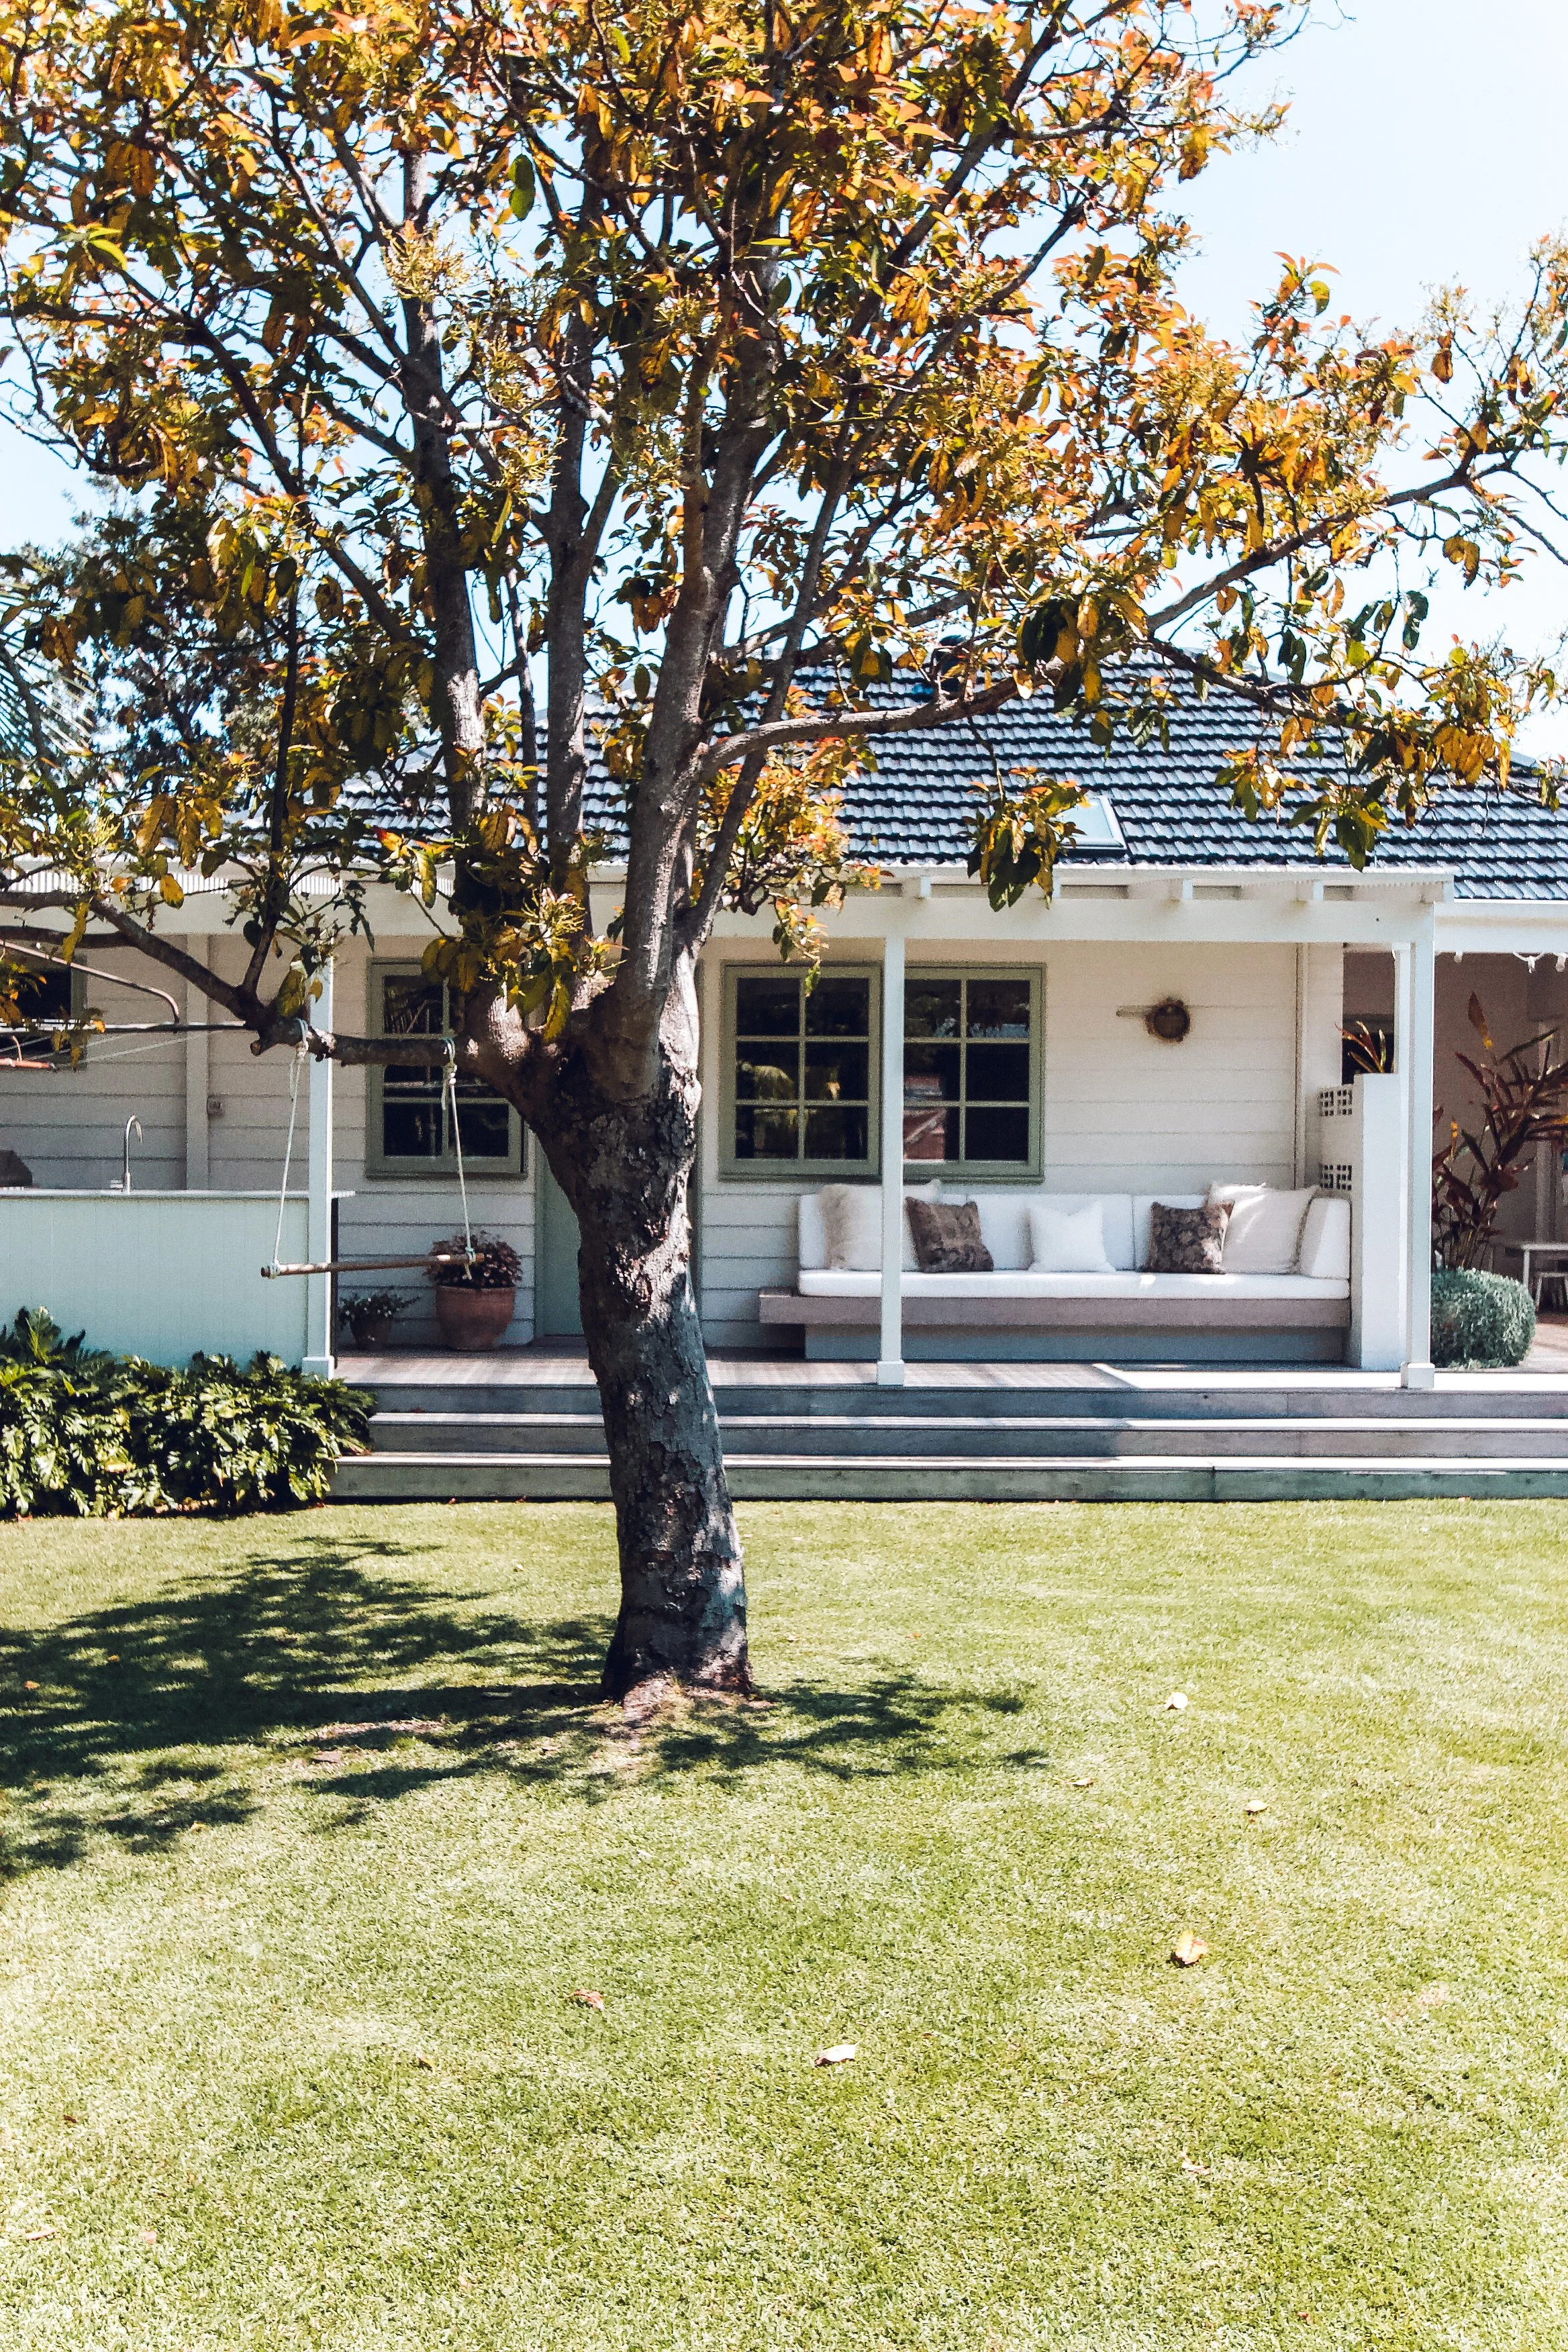
Painting the red brick exterior of our home was a game changer. A new paint job can be one of the easiest, fastest and most inexpensive ways to transform a space or exterior and achieve big results. You can read more about painting the exterior here. We actually hand painted (well done Ben, he did most of it) the windows sage green and a lot of blue tape before we painted the brick in the summer of January 2020. Our home did not look good on the exterior for about 6 months! Hahaha. But at least when you entered our home, you were warmly welcomed with style and all things cosy and beautiful despite the exterior itself. (You can see on this post our exterior inspiration and paint colours.)
This is our first fixer-upper together as a couple and growing family, and we’re not afraid to jump in and learn along the way. In fact, that’s how I share mostly with you all, because it is ALL about the journey! Ben and I both loved to be challenged and learn.
2023 Stage 4
Throughout 2020 and onwards we continued to make small but impactful home improvements as our families needs and desires grew. From veggie gardens, to bunk beds, to built in seats, an outdoor kitchen, an outdoor shower, our dream garden and even creating a kids magical play area! We never stopped working hard, enjoying the process, and creating our dream home. With every vision we had, we designed with intention with our family in mind and built and shared it all across social media for others to feel inspired. When we went through stages of slow or no projects, I never stopped creating ‘home’. From styling and shopping my home to make spaces feel fresh to being resourceful and making small changes with big impacts. It’s taken six years to turn our home into a beach side cottage oasis and it’s been featured in multiple magazines, books and design blogs across the world. A real pinch me moment and dream of mine I had.
Although I don’t believe a home is ever really finished, (perhaps the major structural elements…)a home is always evolving with those that live there. Design with intention and what you truly love for years to come, but also allow yourself to adapt to new tastes and needs as you grow. Your home is a reflection of you, so keep pouring love into it!
It feels bittersweet to say this, but a final hurrah of creating our dream beach side home, was to paint the red tiled roof! A goal of ours to create the calming and crisp colour palette and dream exterior.
It really is the icing on the cake! You can read all about the roof painting here!
Everything we have achieved came from our vision, hard work and passion to create a home we love. From sketching ideas on scraps of paper over dinner, to squeezing in the building work during Ben’s days off work, we have tested our ability to create, build and design and it has been a wonderful journey.
Ben and I often joke that our renovations are one step forward, two steps back. In reality that is the process, especially when you are living in your home during a renovation.
If you’re embarking on your own renovations, here are some of our top tips:
Build a good network of trustworthy, hardworking and skilled contractors, carpenters and electricians. Knowing who and what to outsource can be overwhelming when you first start, especially if it is something new for you. It can take time to find the ‘right people’ for the job but it's always worth the trial and error because when you find those people, it makes renovating that much more personal and fun.
Invest in good quality, smart-home features for heating, cooling and lighting. Scrimping on these can end up costing you money!
Planning! It’s never too early to plan your renovation, especially if you are living through your renovations and raising a family. You will be much more informed about the value of services and items when the time comes and won’t need to make impulse decisions and selections. Get clear on your vision from the start!
Outsource where you can in order to save time, and then save money by tackling the projects you know you can do by yourself. Together this is the first home Ben and I have renovated. He is completely self-taught with his craftsmanship and over the years has tested, learnt and shared the process. He began with only a hammer and a nail as his only tool.
If you are living through your renovations and working with a budget like we have, we’d suggest prioritising the importance of projects and work in stages. That way it’s easier to stay within budget, not get overwhelmed and actually complete the project before moving onto the next. One space, one room at a time. Kitchens and bathrooms add most value.
Don’t forget your bedroom! Just make it yours, even if you had an end goal like we did with french doors and an outdoor deck to enjoy a cup of tea. The main bedroom was the first room we painted! A bedroom is your sanctuary that you retreat to at the end of each day. We also spend a third of our lives asleep, therefore it's especially important to keep our bedrooms a peaceful place for our bodies to recover so the mind can rest.
Take lots of photos! Having completed the majority of the work ourselves, it is incredibly fulfilling to look back and see how much we have achieved in the last six years. So pat yourself on the back before moving onto the next.
There is so much that we have learnt through renovating our first home, but the biggest thing it has taught me is patience; enjoy the process of every detail, the successes and the failures, never stop having a vision for your home and life, you are worthy of your dream. Just start, today!
Scroll down for all the before and after photos over the six years!
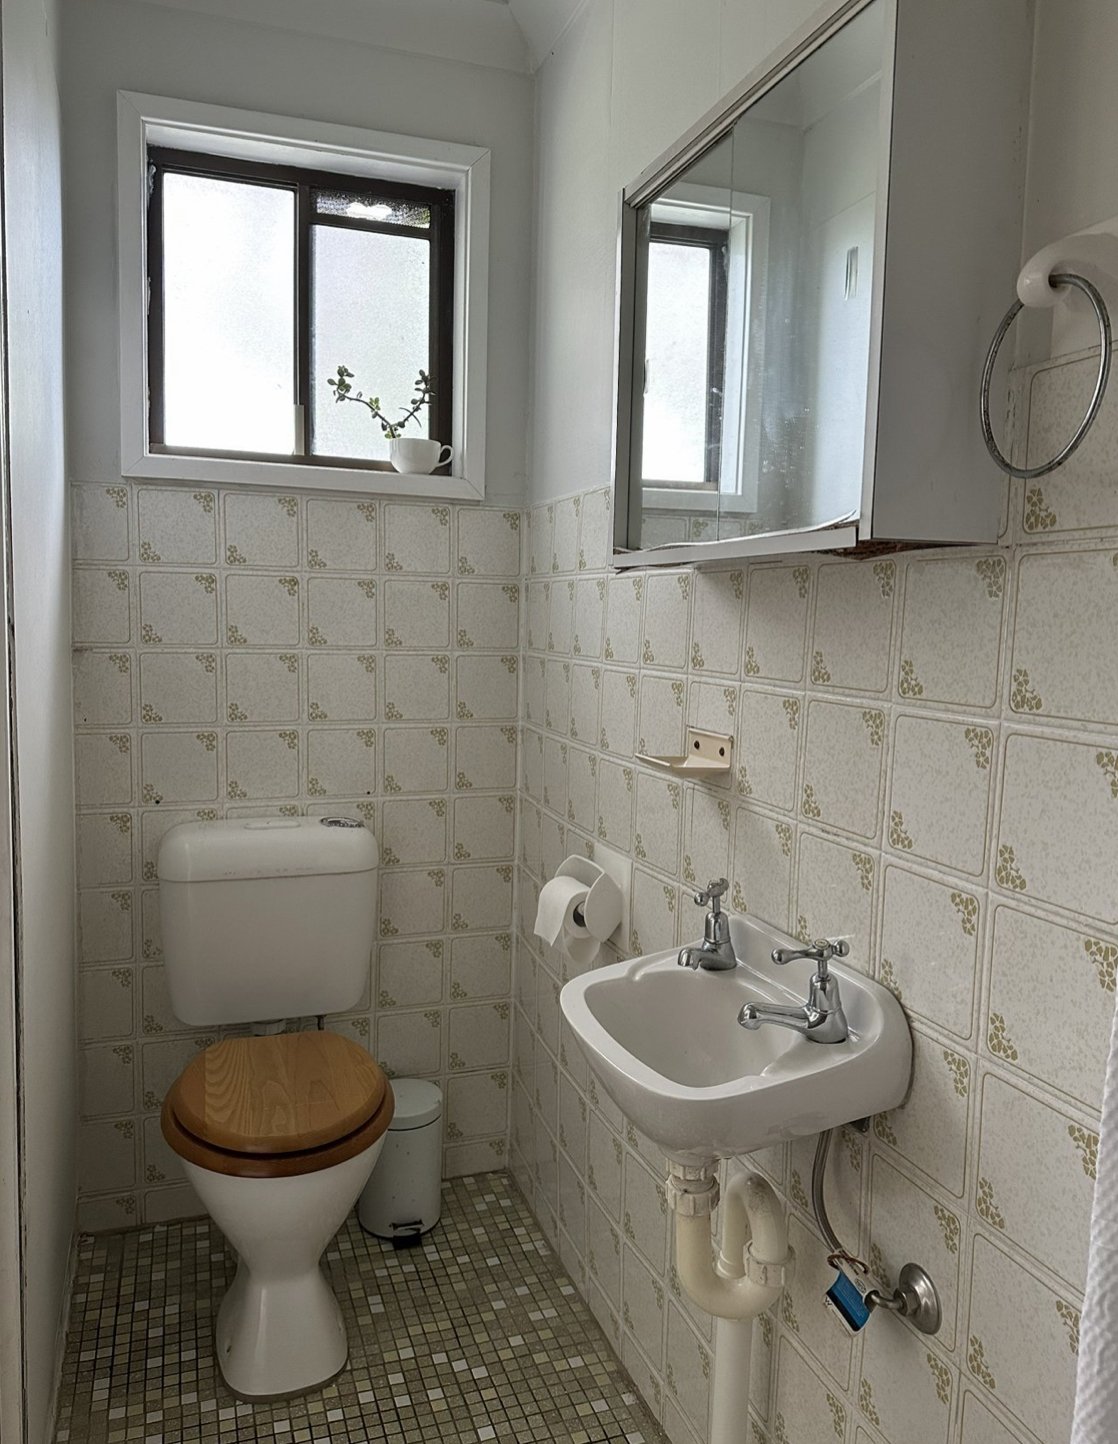
Before
After
Before
After
Before
After
Before
After
Before
Before
After (you can see the guest ensuite reveal here)
Before
After
Before
After
Before
After
Thank you for being here! I hope you enjoyed the story of our home as much as I did going down memory lane!
Recent Posts
Follow Maddy Evennett


