Outdoor kids play area
We have always wanted an outdoor play area for the kids where we could nurture and encourage play-based learning. I had this vision in my head of a space for them to play cafes, Mummies and Daddies, read books, let off some energy on a trampoline, or build forts. (It is all about timing… and they are at the perfect age for this now!)
The area we wanted to create this play zone was “out of bounds” while we were doing most of our renovating as it was a bit of a holding yard for all of our building materials and a hidden space where our projects came to life.
But finally, we agreed the time had come to transform this space for the kids! Here’s how we did it.
We have many binga baskets in our home and love hanging them on the wall as decorate artwork. You can find binga baskets here.
THE INSPIRATION
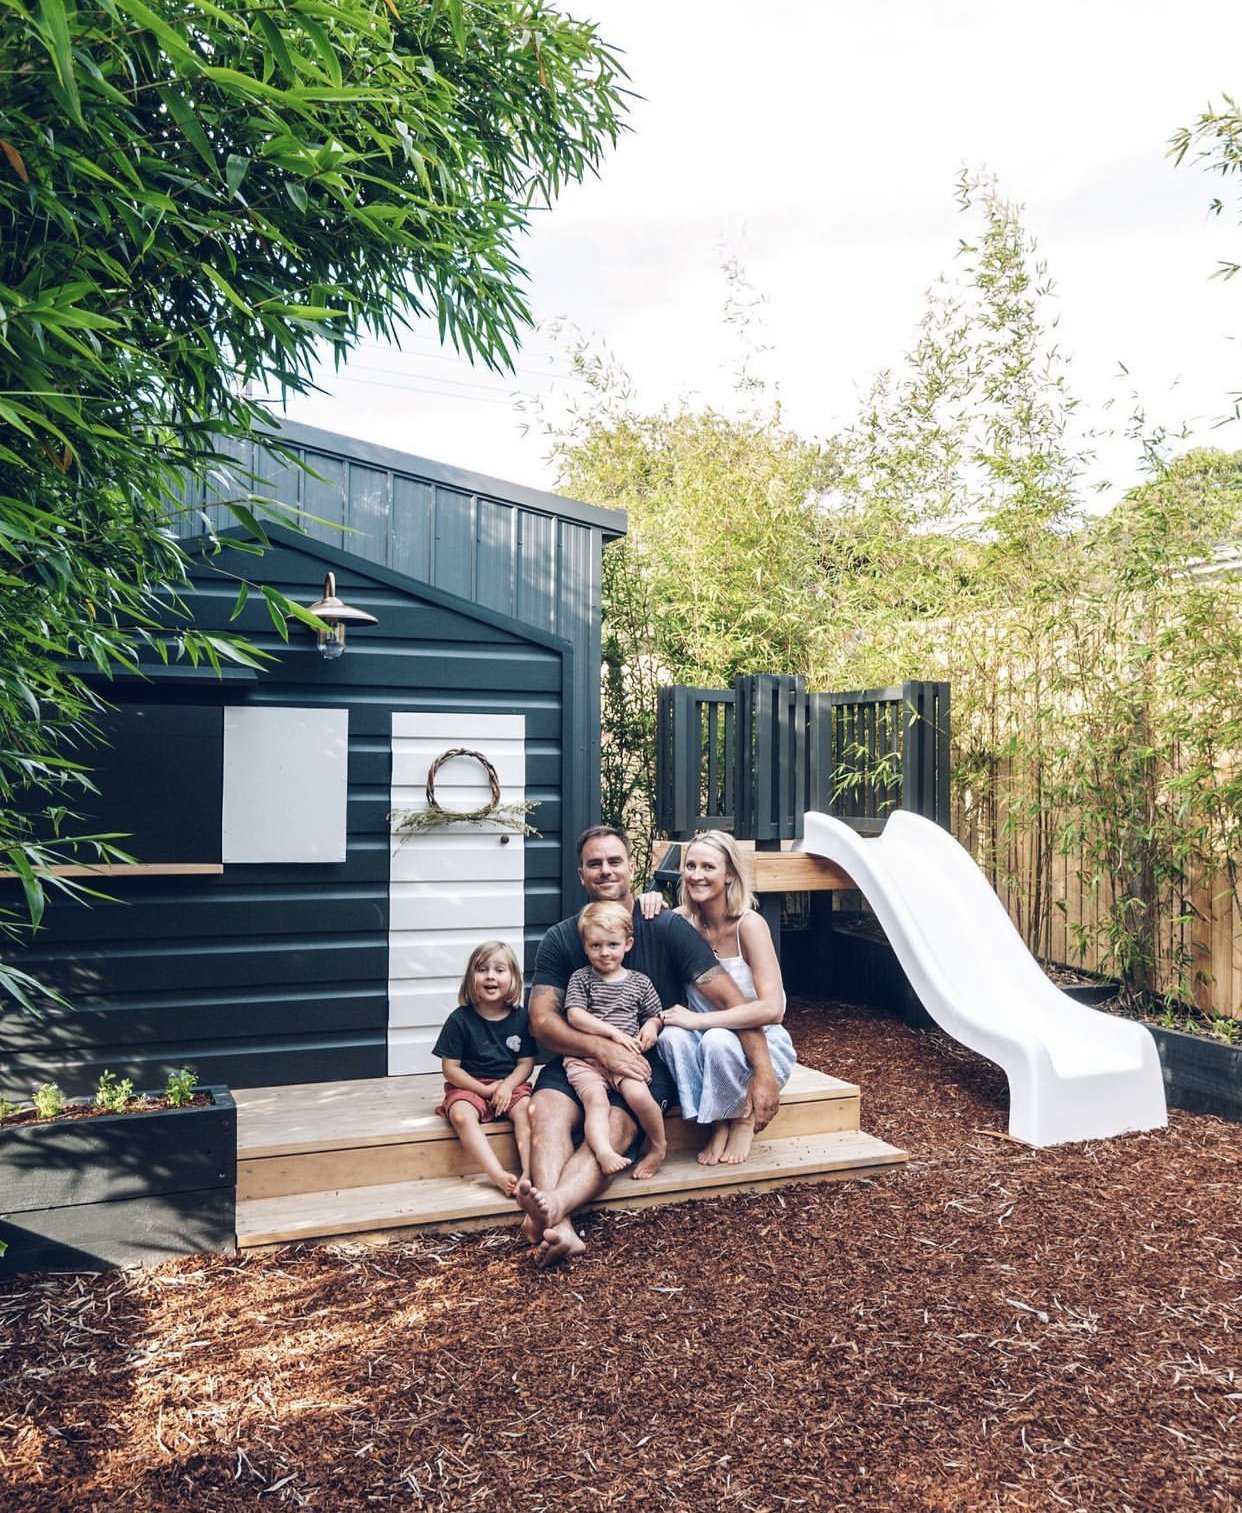
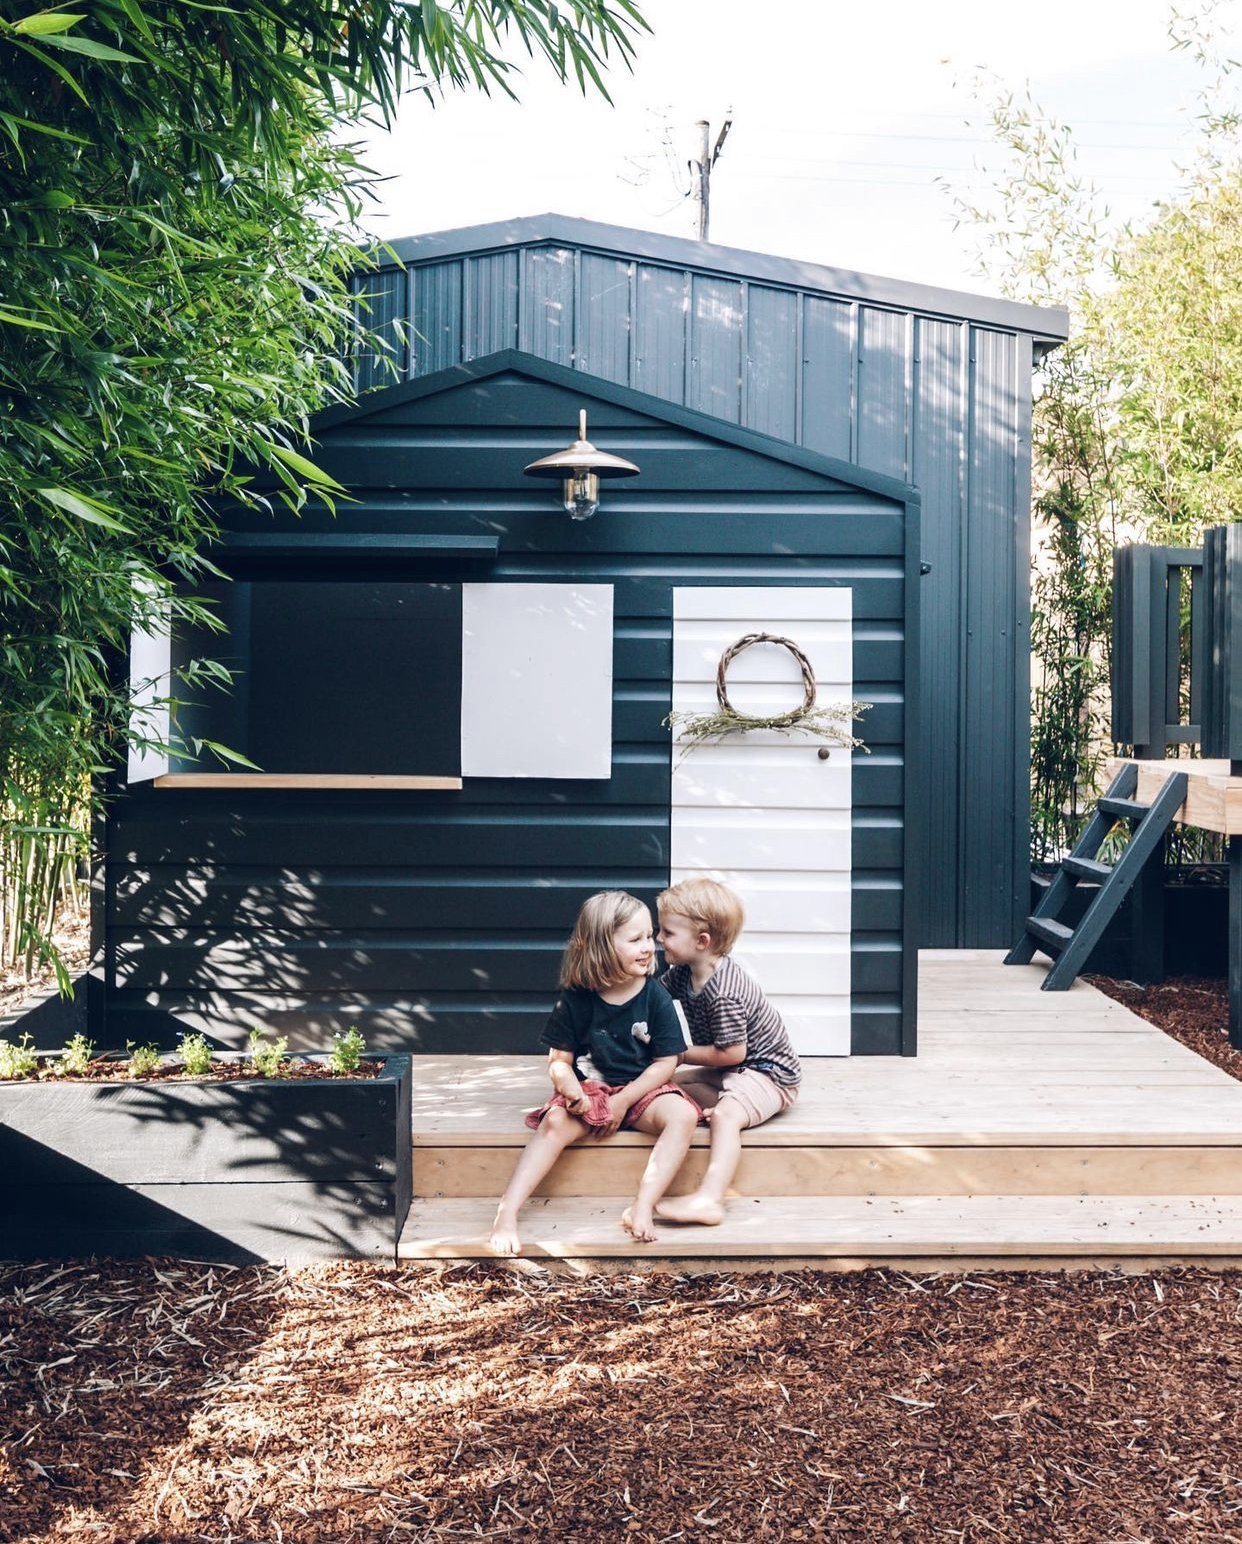
I wanted the area to feel like a safe, earthy and magical escape for them. The inspiration for the cubby house was a rustic treehouse with classic and sophisticated elements. Although simple in design with four walls, two windows, a pitched roof and a door, I wanted it to resemble a smart little country cottage with a touch of whimsy.
I asked Florence what she’d like to use the space for and she said “a café, playing house, a place to sit, happy and fairy lights!”
From this I picked some aesthetic words to work with: Natural, simplified and cosy.
Natural: For me this meant reflecting the surroundings and being in nature. I wanted the exterior to seamlessly blend into its surroundings with the lush towering greenery.
Simplified: I wanted the space to only have in it what they needed to reflect their current interests. This also helps to prevent clutter (and make clean up easy!) and encourage maximum creativity.
Cosy: I’d incorporate homely touches and textiles, such as bunting, cushions, wall hangings, bringing in elements from our own home so they felt connected to the space, and providing multipurpose surfaces for both playing and getting comfortable.
SAME VIEW — Before & After
DESIGN IDEAS
We mapped out four zones for the entire area with four separate activities for the kids to use, each flowing into the other and feeling spacious throughout.
These were:
Trampoline
Cubby house
Fort and slide
Mud kitchen
Like most projects, we marked everything out so we could experience it size wise, walk it and feel it before making any solid decisions. We did this using timber, or stakes and string.
Like most projects, we marked everything out so we could experience it size wise, walk it and feel it before making any solid decisions. We did this using timber, or stakes and string.
Here’s the key design elements that helped the project come to life: Horizontal cladding on the cubby subtly complemented the vertical cladding on our nearby, existing black shed. It gave the cubby the feeling as though it had always been there. Using existing raw wood helped reflect the surroundings and give the added feeling of being in nature, which we wanted to achieve. The white slide was worth the wait! We love how it complements the little white door of the cubby. A clever, slim skylight lets the daylight in and two little windows open out like French shutters. This both adds to the style but also helps encourage Florence and Teddy to open and close up their shop (or house) after playing to take care of their space.When we were designing the seat for the kids, I realised I didn’t want it fixed. I wanted to give the kids more options on how to use the seat, either as a reading nook or a bench seat. We added a curve to the design which was child friendly (no sharp corners!), allowed more space to play and was both stylish and practical.
Biggest Tips: Work from the items you can’t change, like the trampoline and slide, and then work backwards from there with the other items you’re building.Expect surprises! When Ben started digging for the built-in trampoline he encountered endless concrete and ditched marine materials buried under the ground. It took two skip bins full of dirt and materials before the area was clear enough for us to keep building! The built-in trampoline was something new and interesting for us, especially when it came to getting the levels right with the surrounding ground and the pavers. The trampoline came with really good step-by-step instructions on how to install which was great—and well worth following. Take your time! This whole project took us 3-4 months. While the majority of the build and structure was completed in month one, we had to wait for the last bit of timber and the trampoline and safety net to come in (which was on backorder for 2+ months). I also waited to complete the interior until after the kids had a week or two to play in the space so I could make it best suit their current interests.
I loved Florence and Teddy getting to experience this project as it came to life. Each milestone that was completed we showed them the progress and result, and their enjoyment just grew at every step.
Once it was complete and I set up their toys and made it feel welcoming and lived in, they played in it non stop! It just goes to show no matter how old we are, we will always want to make our homes and spaces a haven to feel happy, relaxed and safe in.
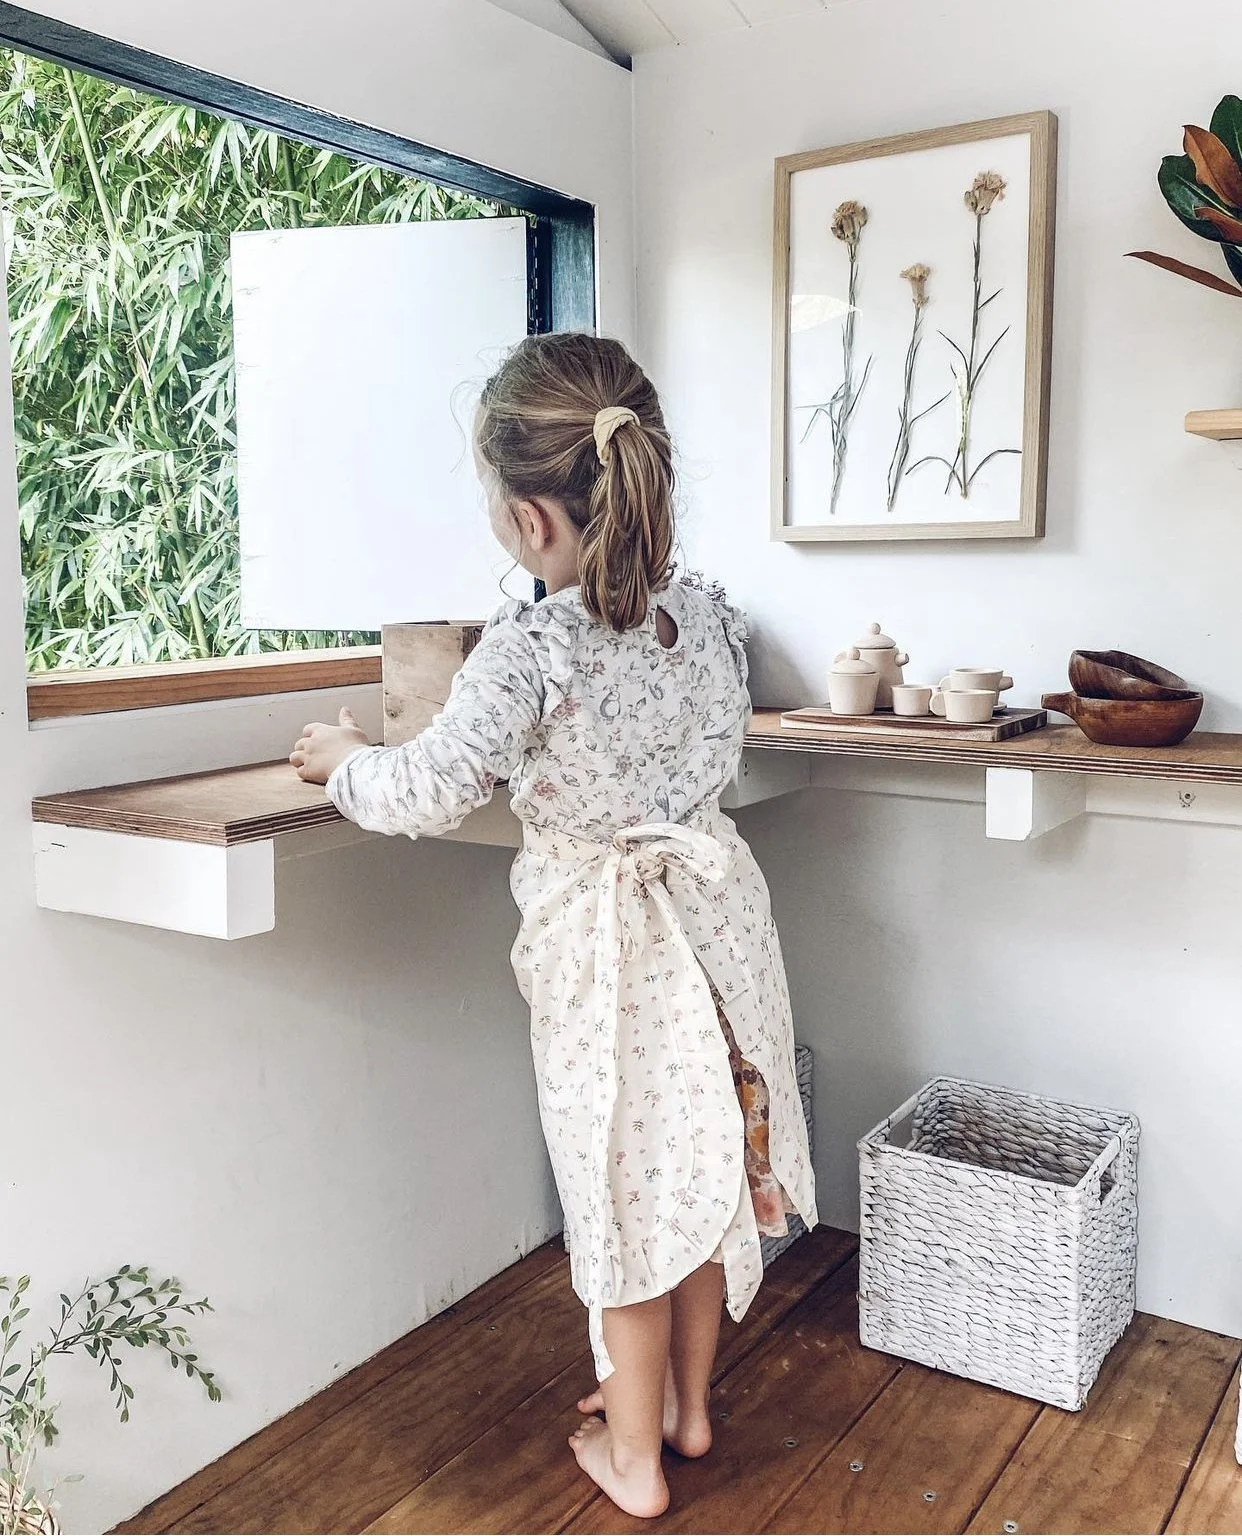
The wall art in the cubby was something Florence inspired me to create.
You know I love to thrift! It adds so much personality and history to a space. Here are some great vintage-retro 1960’s wooden canisters similar to ours. The kids have had little wooden bowls to use for toys and creative play since they were tiny! Found beautiful and authentic ones here. Cute wooden tea set is from Target, but found a really larger Tea set with tea bags! The vintage kilim cushion adds a cosy touch for the wooden seat which can be turned into a reading nook, below the vintage african binga baskets. (set of 5 on sale!)
Florie made the artwork herself my pressing and drying flowers then framing it!
vintage-retro 1960’s wooden canisters similar to ours
Outdoor brass garden tap for the mud kitchen
Wooden authentic bowls for playing
Fruit shaped wooden bowls
Kids gardening set with watering can and bag
Floral kids apron for cooking and play
Linen tea towels
Kids Montessori wooden food set
Black kitchen utensils for outdoor play
Vintage kilim lumbar cushion (we have one on the seat for the reading nook)
Black chalk board (the kids love to write their shopping lists on this! )
Binga / Tonga African baskets, I have used these as decorate pieces for years in our home, they add a beautiful and authentic touch to any space.
Watch BTS on building the outdoor play area. And a video of the inside of the cubby!
We installed an in-ground trampoline from oz trampolines for safety for the kids. We followed the directions to install it. Luckily we have sandy soil so no drainage system was necessary. Watch BTS here.
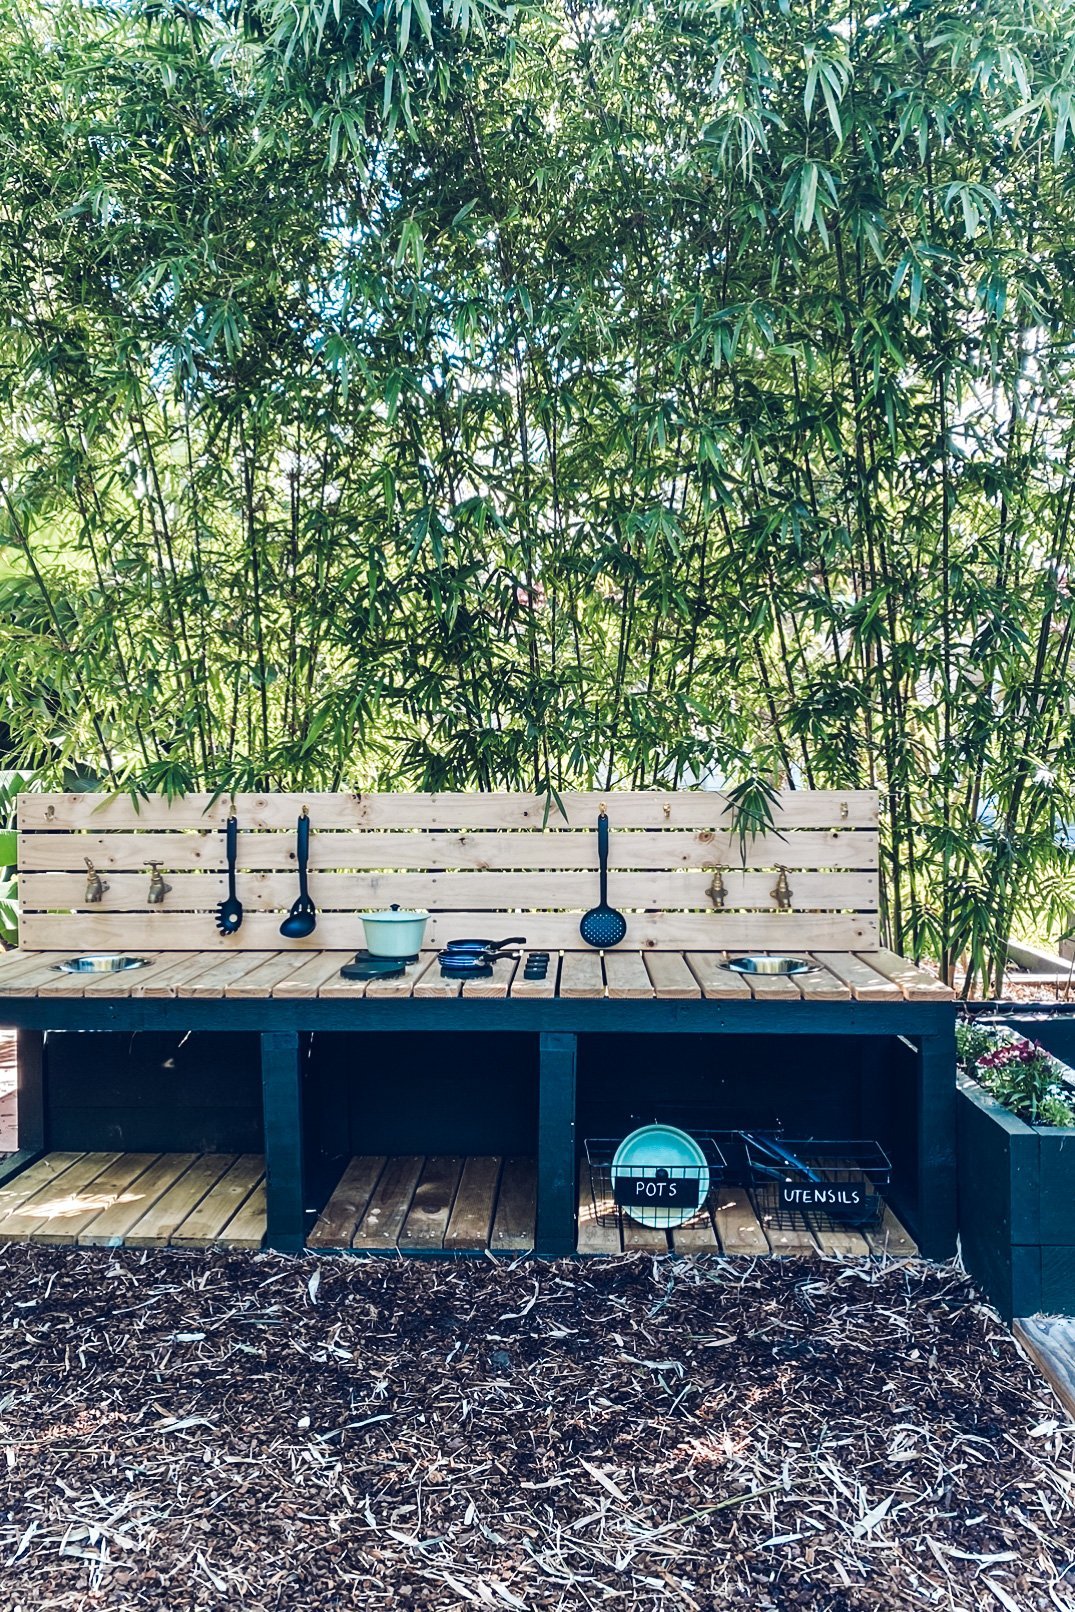
The mud kitchen is very well loved and daily gets used for making “chicken soup” and “banana muffins”. Watch BTS here on how we made it.
As always, we try to have a place for everything! As we encourage to pack away after play, and let’s face it it’s easy for them and looks good! These are similar wire baskets.
Recent Posts
Follow Maddy Evennett


