Bunk Beds
For as long as I can remember I have wanted bunk beds, they’re so fun and can be very practical!
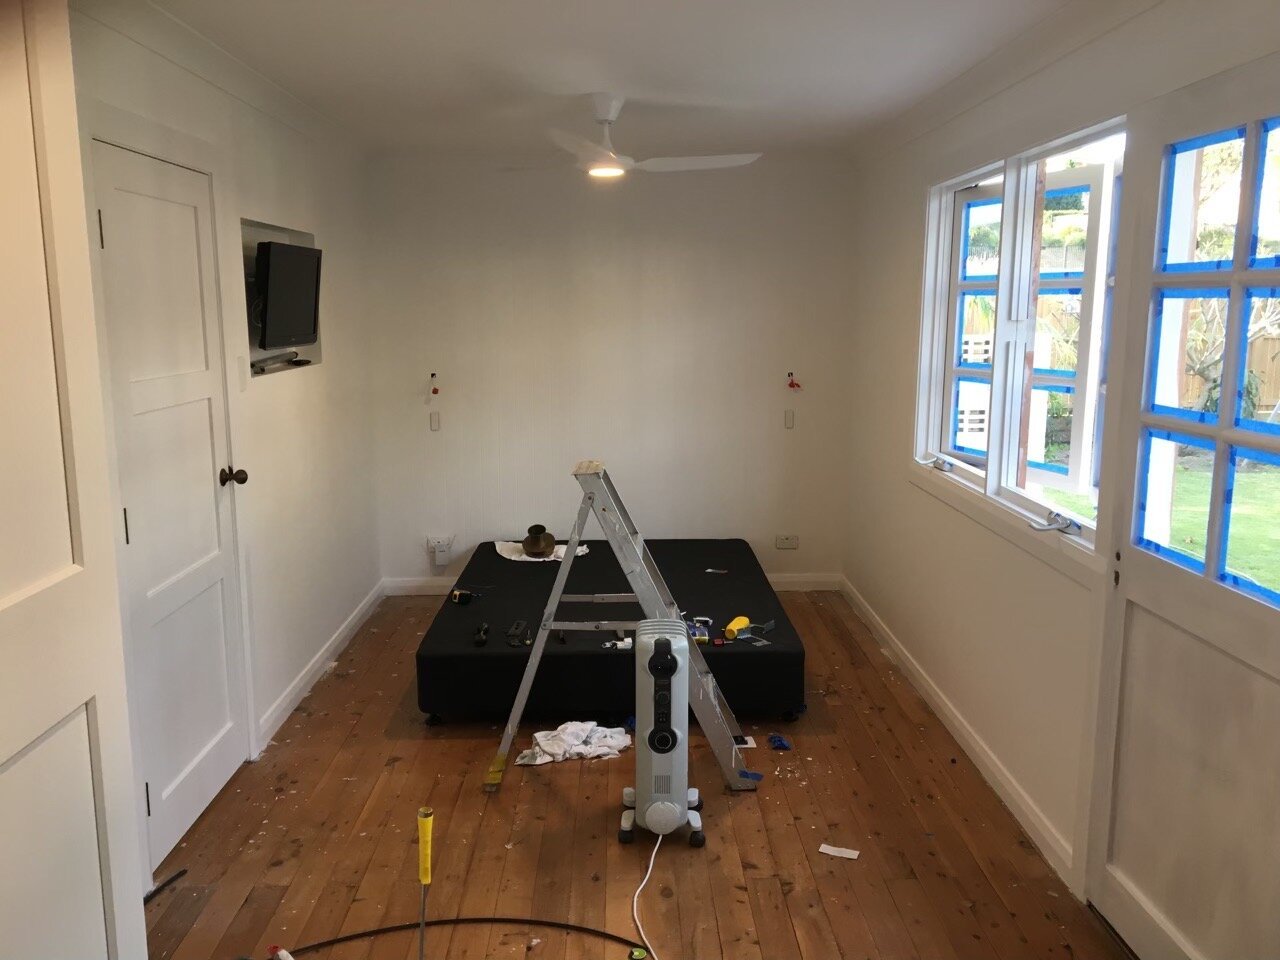
Just like all the projects we do, it’s to benefit our family’s needs and the former guest bedroom with a Queen size bed just wasn’t cutting it. The bed took up too much floor space that the room couldn’t be used for anything else, and considering It was only being used fortnightly when Ben was on night shift and when guests came to stay, it was pretty much a wasted space. So, this is when the ‘multi room’ concept came to fruition. We needed to utilise the space so the room could be used for our requirements which was to accommodate a sleeping area, a craft and storage area for the kids and an office for myself.
Before pictures of the guest room. The size of the room measures Length- 6.5m Height 2.44- Width 2.6m
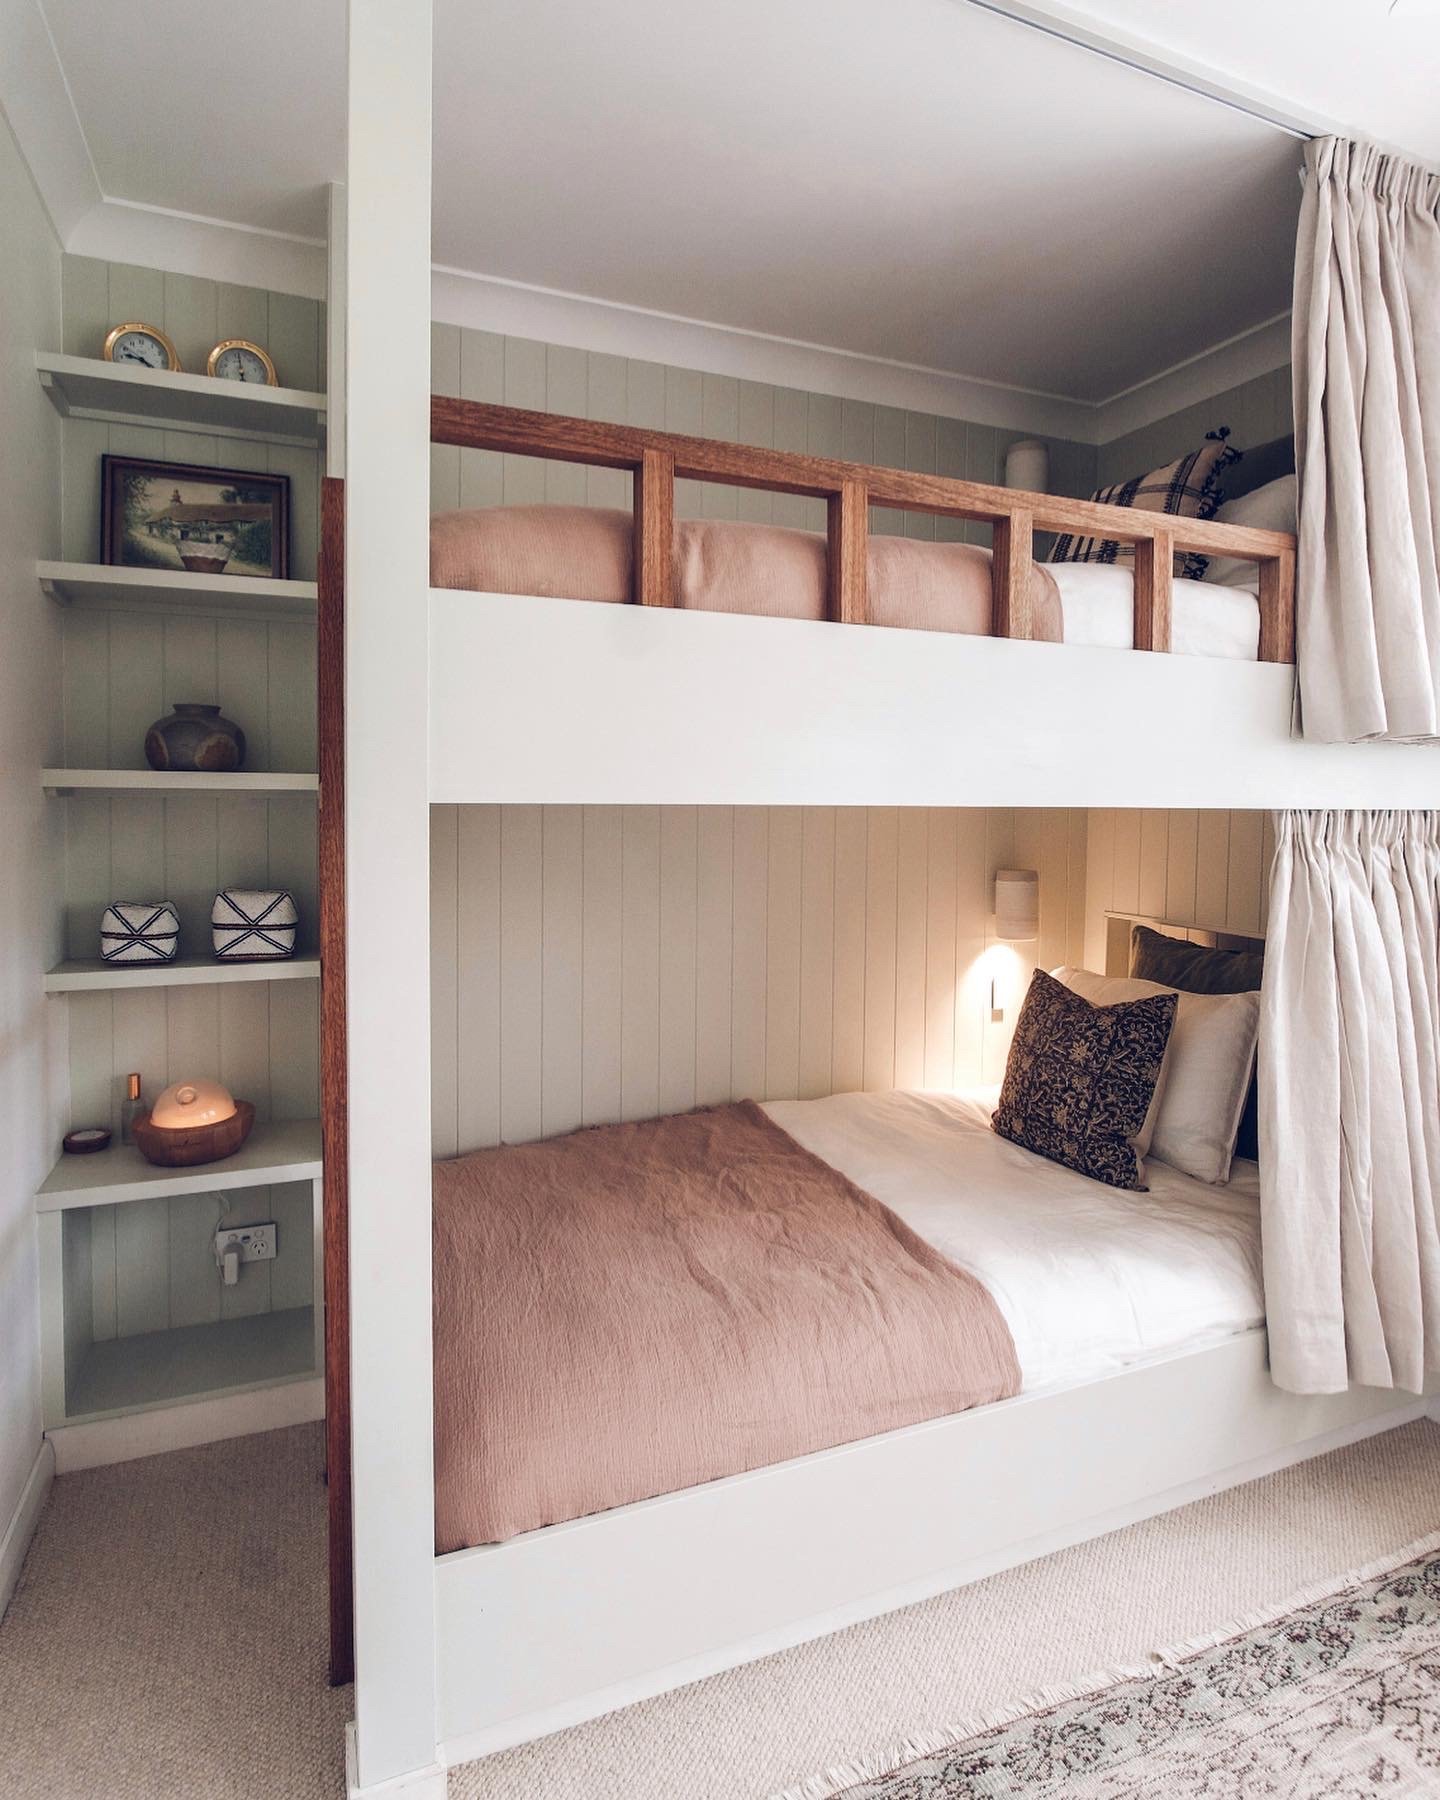
Bunk beds were the best solution to maximise the floor space we needed.
Watch behind the scenes HERE of how we built the bunk beds!
Supplies we used for the Bunk Beds:
These bunk beds are not a general one size fits all. They are custom made to fit the space of the room, and custom made to fit king single mattresses.
Wood Framing wood 90 x 45
DAR (front faces) 230 x 20
DAR (posts) 90 x 90
VJ Sheets 2400 x 1200
MDF for custom built in shelving 2400 x 900
Meranti wood (Rail & Ladder) 40 x 40
Bunk Bed Paint- Still Green British Paints
Ceiling paint- Ceiling professional Dulux
Skirting- Vivid White Dulux Aqua Enamel Satin
Watch behind the scenes HERE of how we built the bunk beds!
Concept board- Whenever I plan a space I make a concept board with gathered inspiration to create a vision and scheme. I often draw inspiration from nature, life experiences, Books, magazines, Pinterest and many other Designers.
White bed linen and throw from In the Sac linen, a long time favourite of mine with the finest quality linen. And I have a special code for you, ‘ HHOUSE20XITS ’ for 20% off!
FAQ Bunk Beds-
Is it hard to make the beds? Thankfully no! I knew from experience of having made many bunk beds in my day (working on super yachts) that extra space to tuck the duvet under was crucial! We allowed two inches either side of mattress.
Is there anything you would change? This is the first bunk beds we have made, so of course there is always room for improvement… The VJ panels under the bottom bunk are beautiful and make it feel very cosy, however if I was going to be critical, I wish they lined up. That was a miss calculated error, and by the time we realised it was too late. Hot tip- Measure twice, cut once!
Keep scrolling for the newest addition to the bunk beds,
I’ve always loved the idea of curtains on bunk beds and I’m slightly obsessed with the cosy aesthetic it brings to the room!
One of my favourite Vintage rug store with a unique collection. No two rugs are the same, like I always say, choose something that resonates with you and adds character and your personality to a space. I love how this rug compliments the colour of the bunk beds with the fleck of sage green!
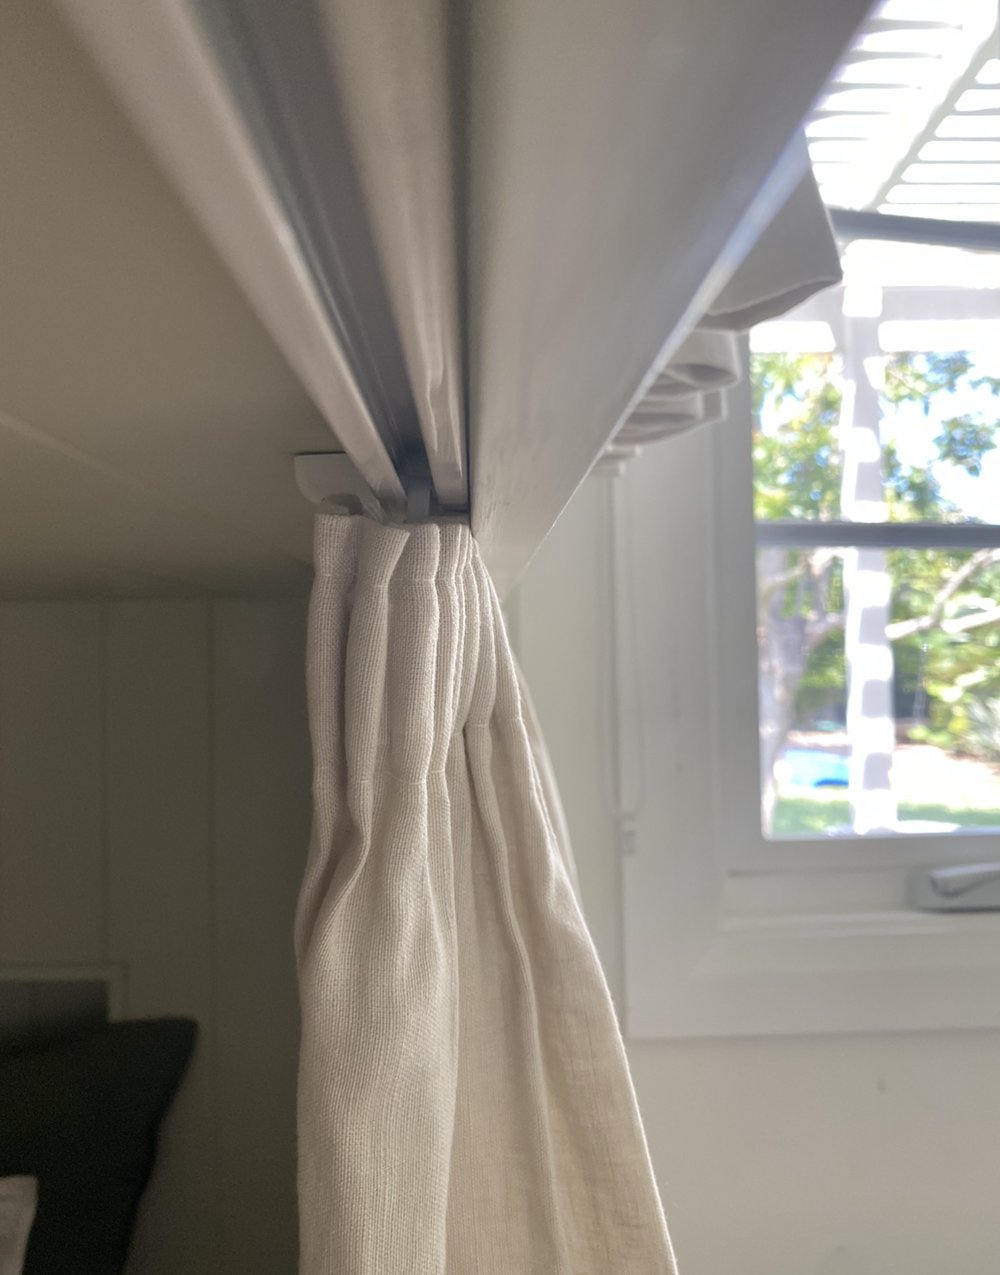
HOW TO HIDE THE TRACKING
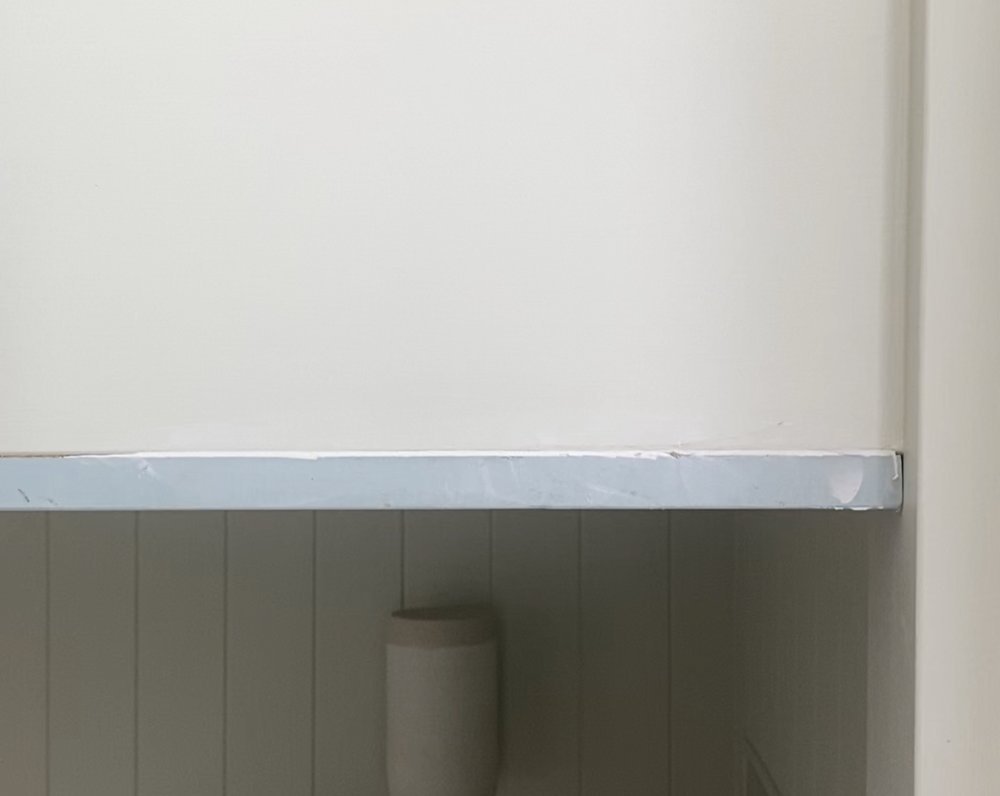
We attached an additional piece of moulding for the curtain track to hide behind using wood glue and nail gun.
We then used gap filler and 240 sander to get it completely flush before applying the paint. I love how cute the pencil pleat looks in a neutral sage linen against the sage.
Kids Craft Area — Before & After
The kids craft storage area is just behind the bunk beds. Read this blog post for organisation tips.
You can watch behind the scenes footage of us building this craft space for our kids here.
Two out of three elements in the “multi room” have been completed. An office is still to come…
Recent Posts
Follow Maddy Evennett


