Outdoor Kitchen, Design And Considerations.
Today I bring you something exciting. Whilst I am waiting on a few final details for the guest ensuite...(and twiddling my thumbs in the meantime,) lets tackle the BBQ area!!
Yes I know, it's Autumn and we probably should have started this in Spring to enjoy all Summer long right?! Well, sometimes the plans we have for our homes don't always happen in the order we want them to. But oh, when the opportunity presents itself, and the time is right, let's take action!
We cook on the BBQ at least 4 times a week, and although our bargain buy from Aldi has served us very well over the years, we are definitely due for an upgrade. So, hello built in BBQ...
DESIGN CONSIDERATIONS
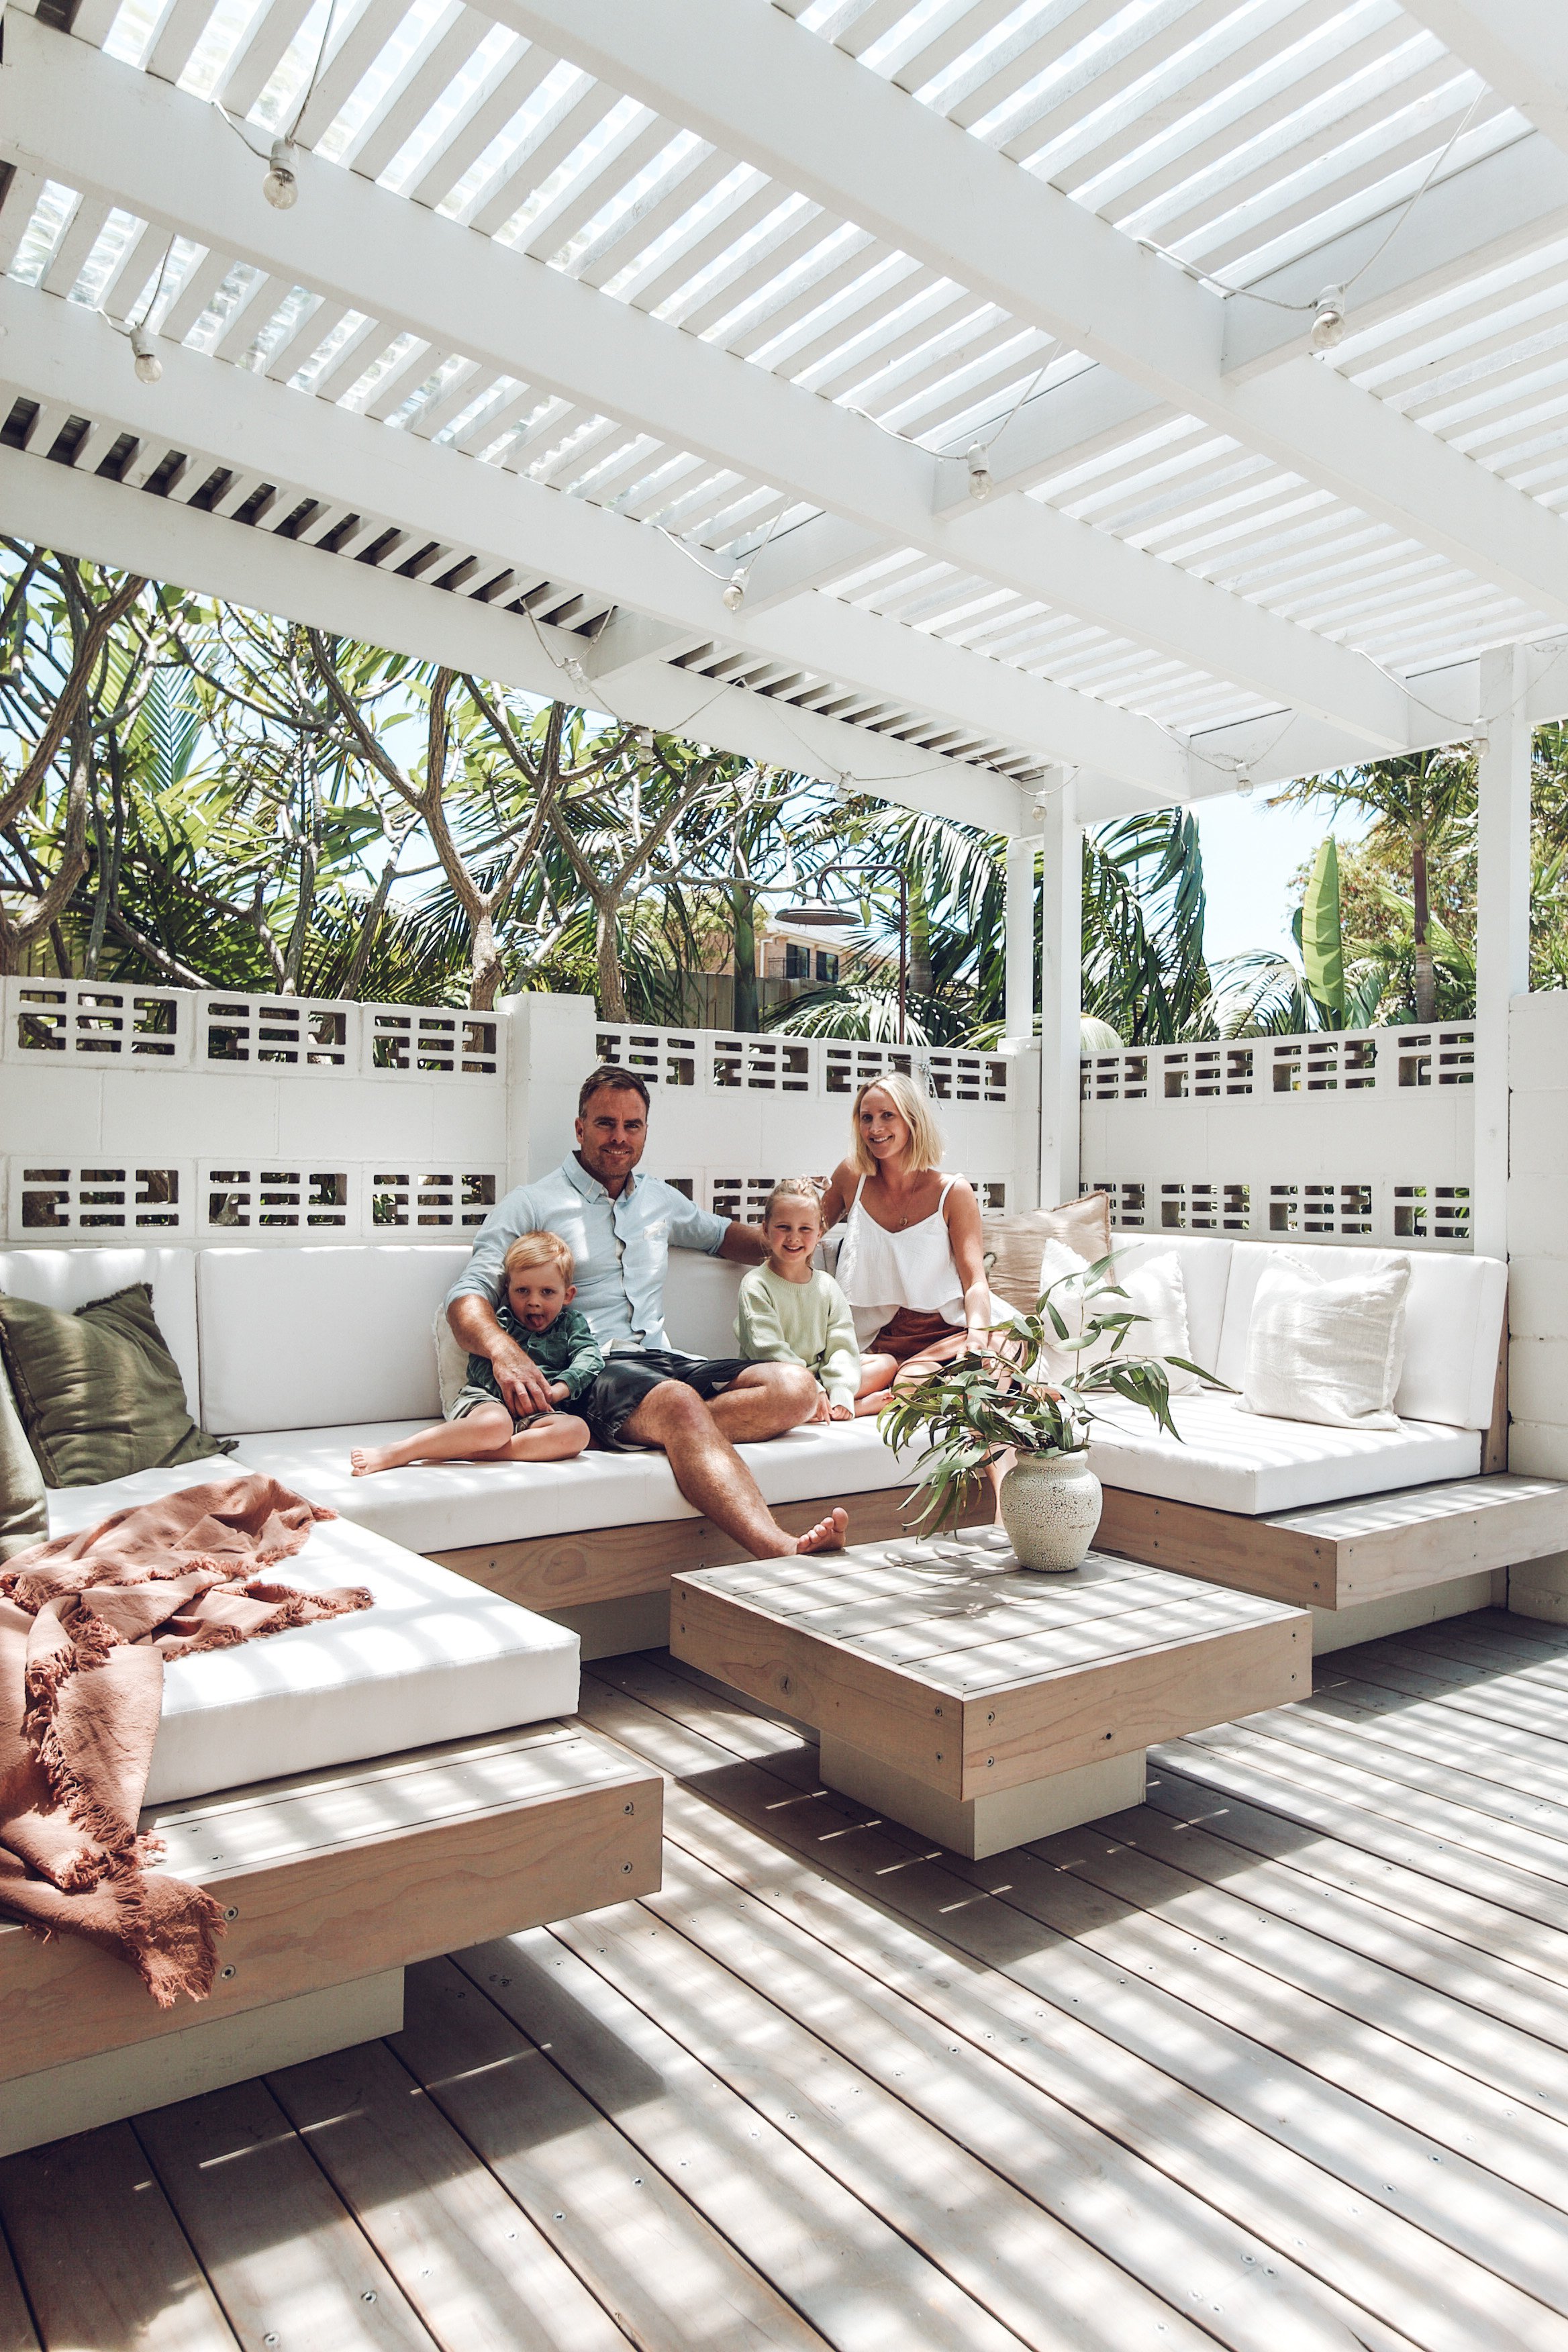
Let’s talk design considerations. The floor space measures 1950 x 2550. We have truthfully been planning this BBQ area for a few weeks, but yet to start. Here are a few options we considered for designing and building below.
The new BBQ will be in the same location the current one is. This spot has good ventilation and aesthetically more pleasing on the eye being centred in the middle.
After considering these options, lots of drawing, walking in the space, taping and mood-board planning, we have landed on option Two! Although for a moment there, we considered option one. The reason we chose not to do this was the cabinet would have to run further along the exterior wall for design and aesthetic reasons and finishing on a clean edge. In turn, making it too large and an unnecessary amount of bench space, that we simply wouldn’t need or use. Option two layout it is more functional, the cabinetry with the fridge and sink will be on the left as you enter the BBQ area, you will be able to wash dishes, grab a beverage and use the bench space looking out onto the garden.
Inspired by this bbq area because of the understated design and panels. (oh and the plants of course!)
Image Source- Sitchu
The deck runs the same way as ours does and I’m inspired by the simple design and panelling.
I saved this image as inspiration because it’s the shape we are doing in reverse. However, we will not be having bar stool and a seating area, as we have a lounge seat just off to the left of the BBQ. The bench space will have two cupboards, a fridge and a sink. We will also have wooden slats for neighbour privacy where the frangipani tree is located and the BBQ, as this tree is only in bloom three months a year.
Image and design source unknown
This bbq area is my biggest inspiration. I love the tongue and groove panelling which adds subtle definition to the otherwise simplistic design. It is a clever design with a smart streamlined bbq and encourages the eye to carry over the entire area making it feel spacious! A few months ago we purchased the same bbq on sale, then I stumbled across this image.
PLAN
Remove exisiting bbq
Dismantle the exisiting railing. (we will likely be able to use the wood for another project, you know us!)
Remove architraves around posts
Check reinforcement of stirrups underneath the deck before building, install more if need
Build base frame plate
Build cabinet units
Cabinetry for the bbq and fireproof box as per the installation guide from the BBQ manufacture using 4ml concrete sheeting. The BBQ installation has fire proof membranes as per manufacturers instructions.
Where the gas bottle storage area will go, there will be ventilation to atmosphere as per the manufactures instructions.
Install external concrete sheeting outside of the BBQ (Hardie groove VJ)
Make cupboards
Make door fronts and hinges
Interior lining
Internal drawers
Kick plate for the kicker
FAQ- Will the pergola get smokey? No, the BBQ has extremely good ventilation to the atmosphere.
MATERIAL LIST
x4 Sheets Marine ply- 2440 x 1220 x 18
x6 Lengths H2 Framing Pine- 3000 x 70n x 35
x2 Sheets hardie groove VT cement- 2400 x 1200 x 8
x1 Cement sheet- 2400 x 600 x 4
Nail gun and nails
Wood glue
Exterior screws
BBQ Grill (Artusi)
Stone (Quantum Quartz / Riviera)
Paint (Taubmans Ace of Spades)
Exterior Paint (Dulux Feather soft)
Soft close clasps for door and drawers
Double pull out bin
Recent Posts
Follow Maddy Evennett


