Shelf Styling
A step by step tutorial on kitchen shelf styling.
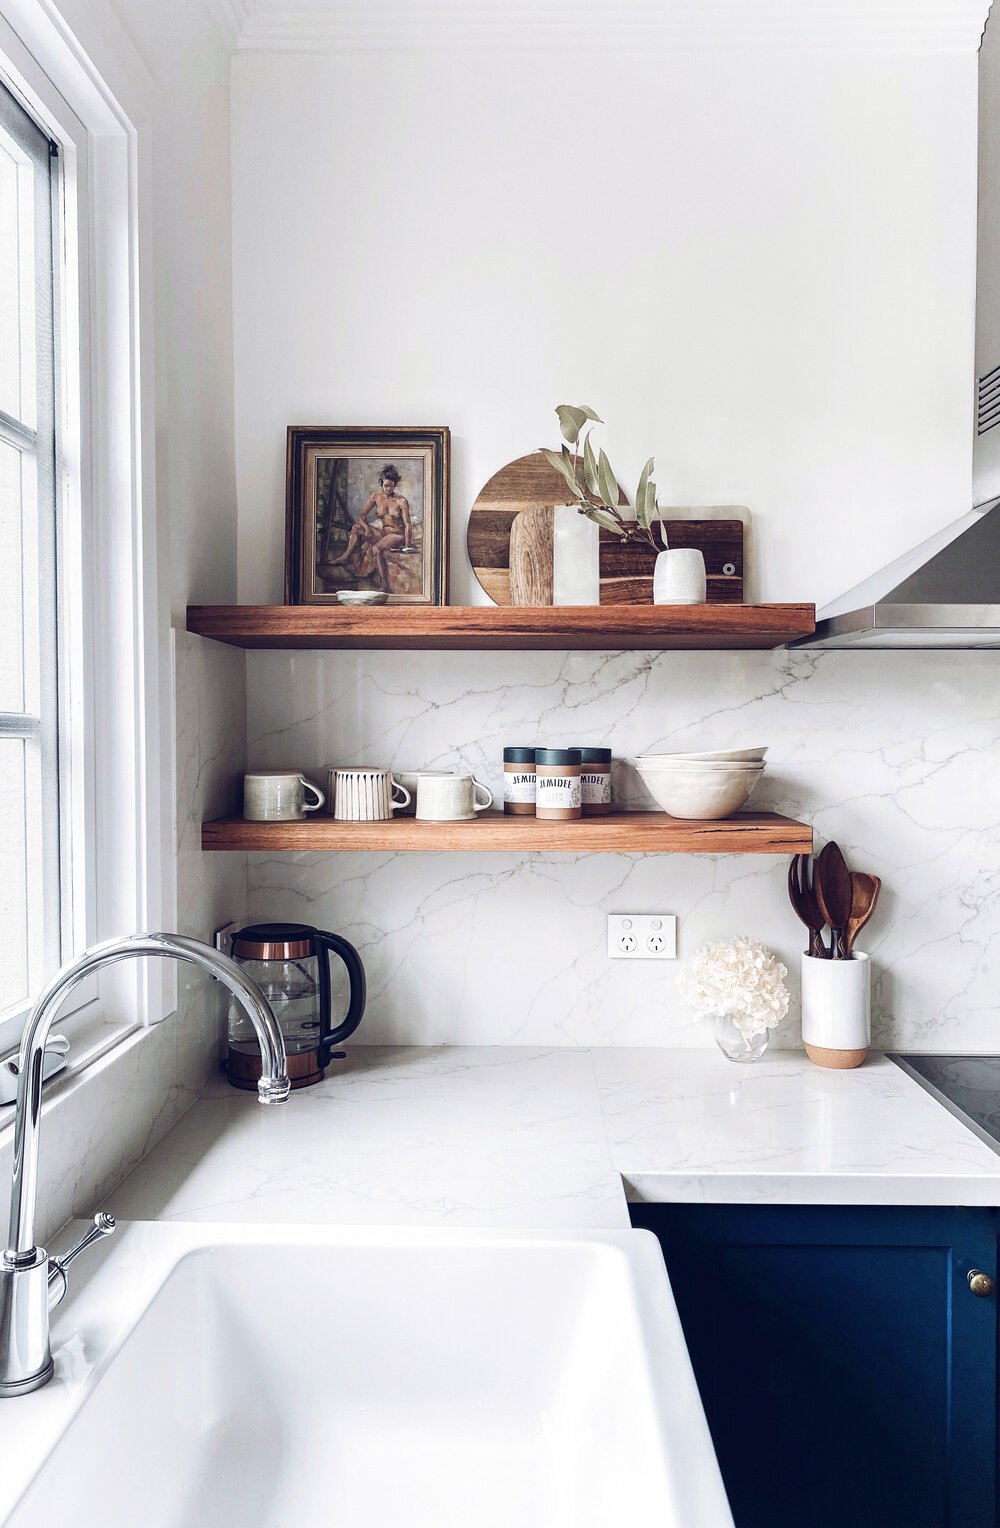
We recently added new countertops to our kitchen by replacing bamboo with stone. This has been a dream of ours since we purchased our home four year ago. '“A home takes time!” I cannot believe the transformation! (before and after of stone corner) Along with the new countertops, we made new shelving! I have always loved the composition of clean lines with the warmth and texture of wood. And with our white walls, and white countertops (Smartstone Amani Classico) it was a no brainer to add in natural elements of wood to balance all the white!
The wood we used is Spotted Gum, It’s a hardwood known for its strength and resilience to scratches and knocks. It has a beautiful rich brown colour and paired perfectly with the tones of our floorboards which are cypress pine. The depth of the shelves are 270 mm and the thickness of the shelves are 45mm. We customised the planks of wood to make our shelves fit our kitchen corner!
You can watch behind the scenes here how we made our kitchen shelves!
Of course new shelves means styling. (The best part of obviously!)
Along with kitchen shelves being filled with pretty and sentimental pieces that make a house a home, it’s just as important that they are functional and practical to those who live there, since the kitchen is normally the most used room in a home.
Below are a few tips on styling kitchen shelves.
STEP ONE
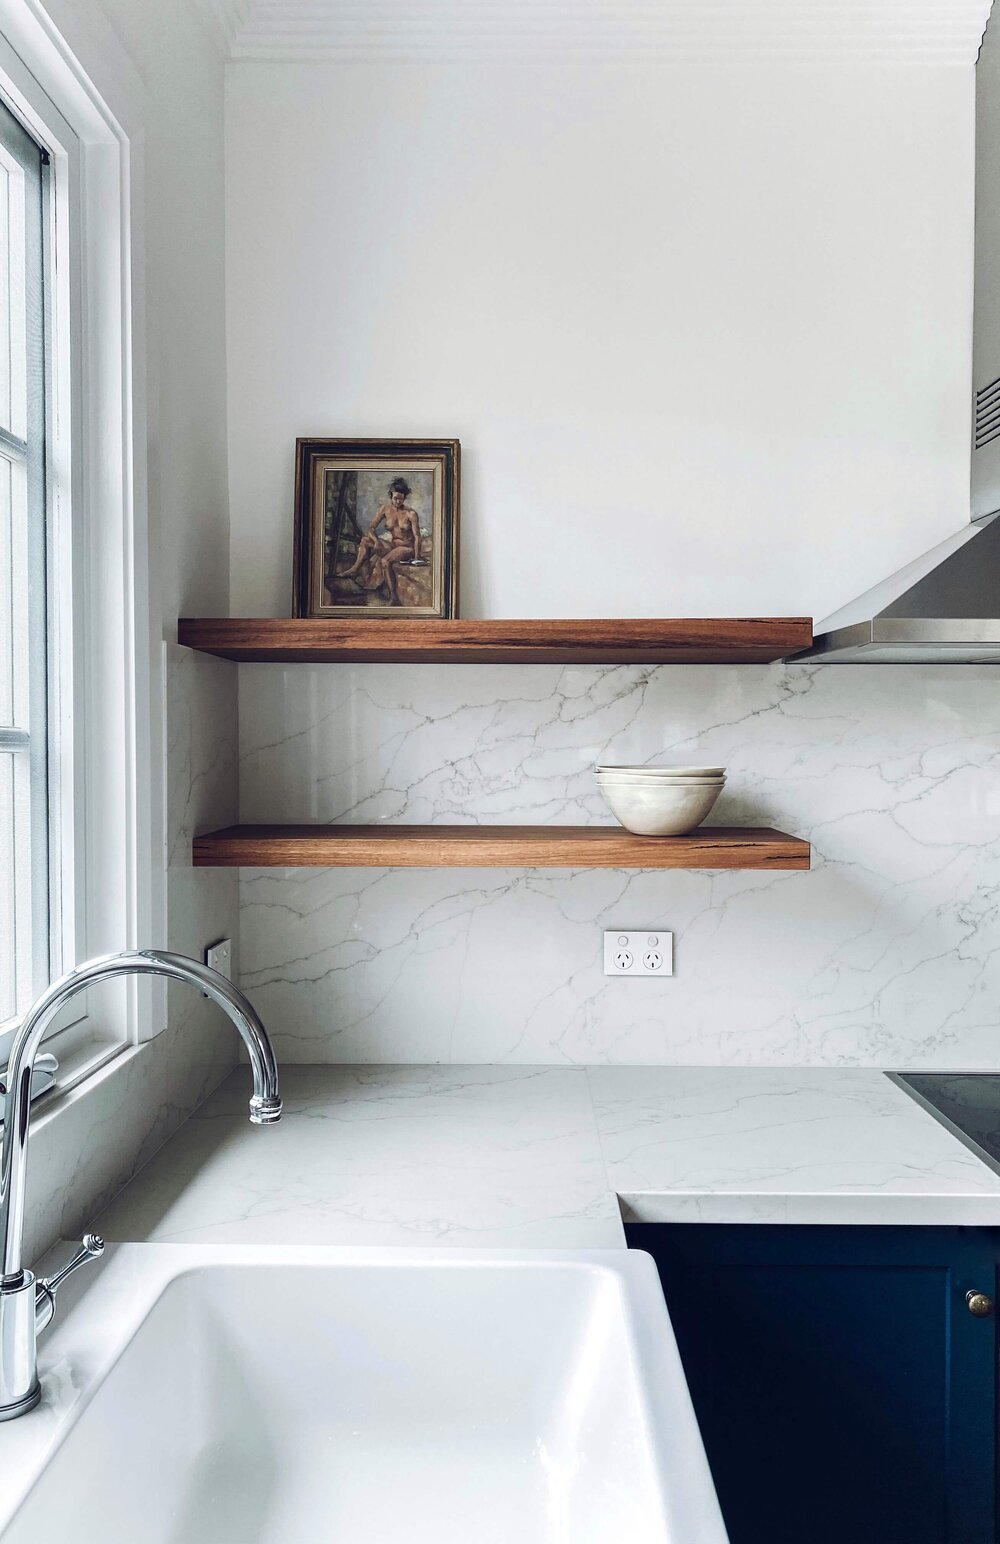
Always start fresh! Take everything off the shelves, wipe them down and start with a clean slate. This encourages our minds to feel clear and enhance creativity!
STEP TWO
Gather all your pieces, (But remember be practical of what you will need to use on these shelves and make that the priority) Crockery, glasses, vessels, platters, vases, mugs, breadboards, books, tea etc. You may also want to incorporate pieces with visual interest, art, ornaments, plants, photos, the sentimental and personal pieces that makes a house a home, YOUR home! And as you do, be mindful of mixing up the sizes, textures, styles and tones of the items you display on each shelf in order to balance and interest.
STEP THREE
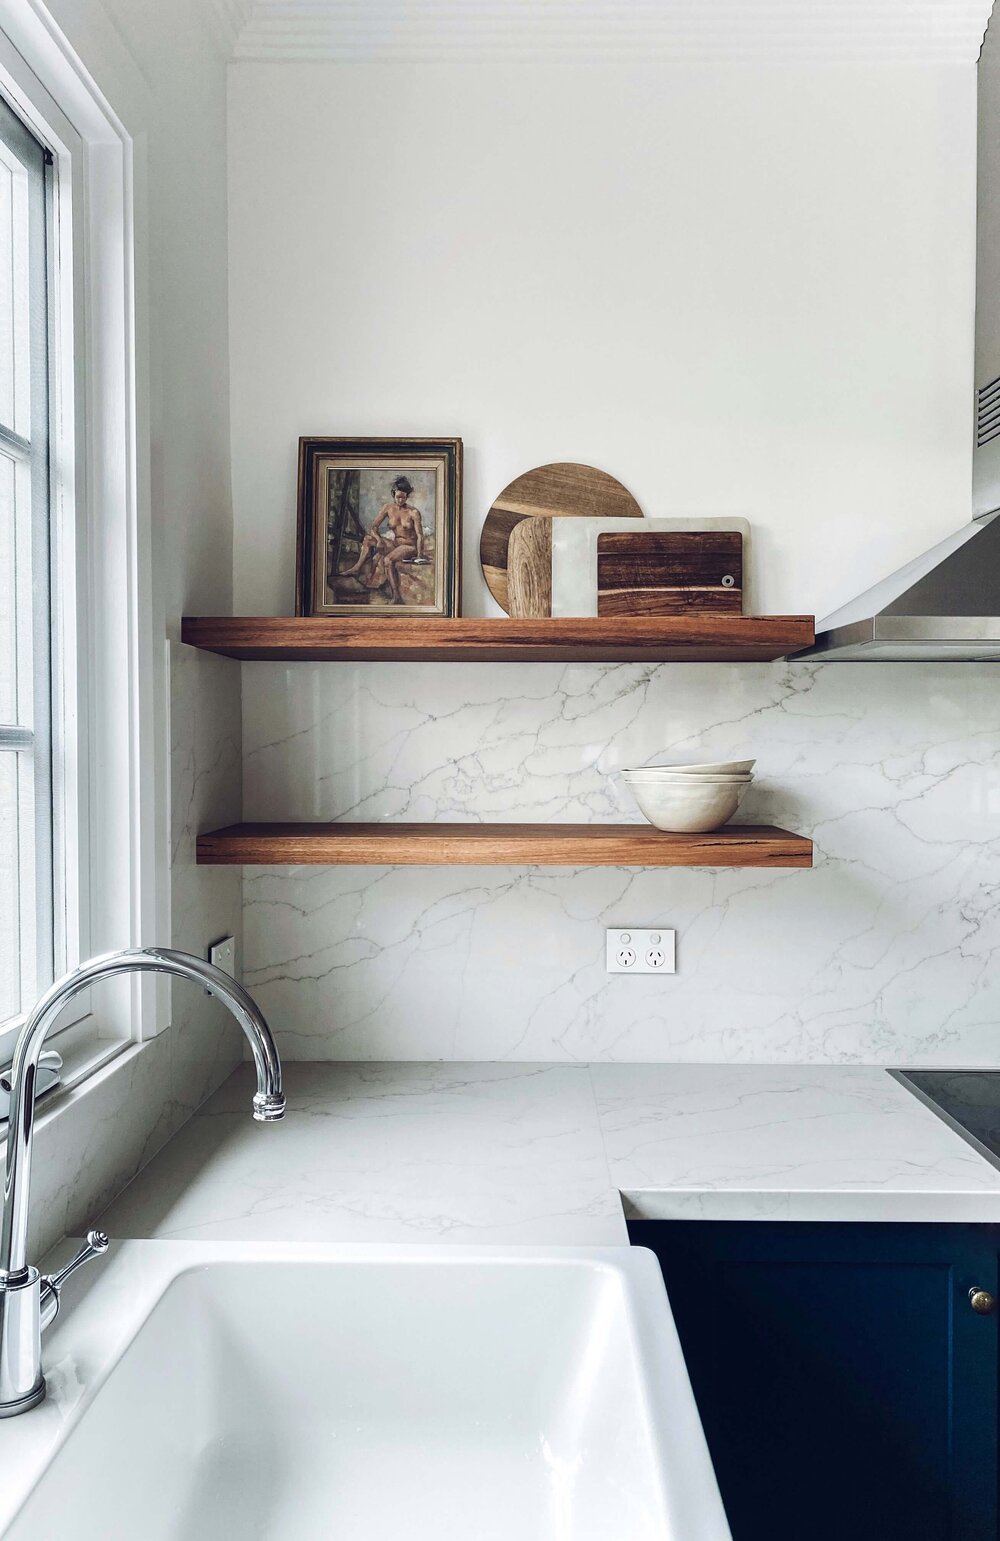
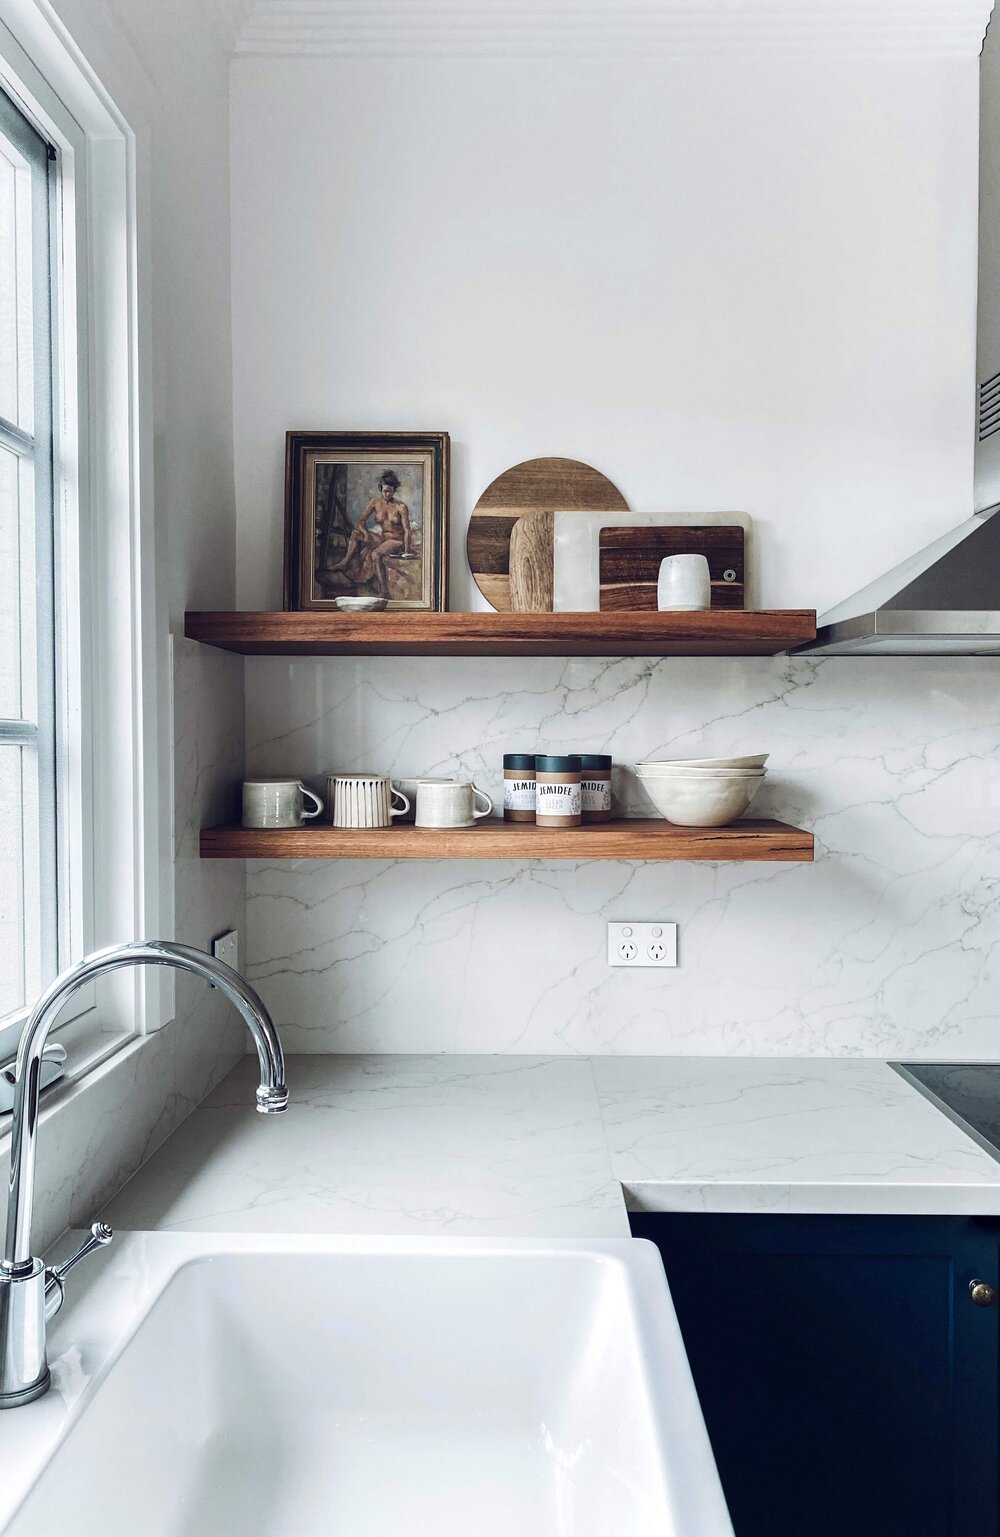
Start with the larger pieces first and space them apart, as seen pictured I have added the two largest pieces and placed them on a diagonal from one another so it feels balanced and not top heavy.
STEP FOUR
Style in groupings of odd numbers, (e.g. Three bread boards layered largest to smallest) Odd numbers force your eyes to move around the grouping which creates interest!
Intentionally using a mix of colour, texture and shape to create a cohesive and balanced look.
STEP FIVE
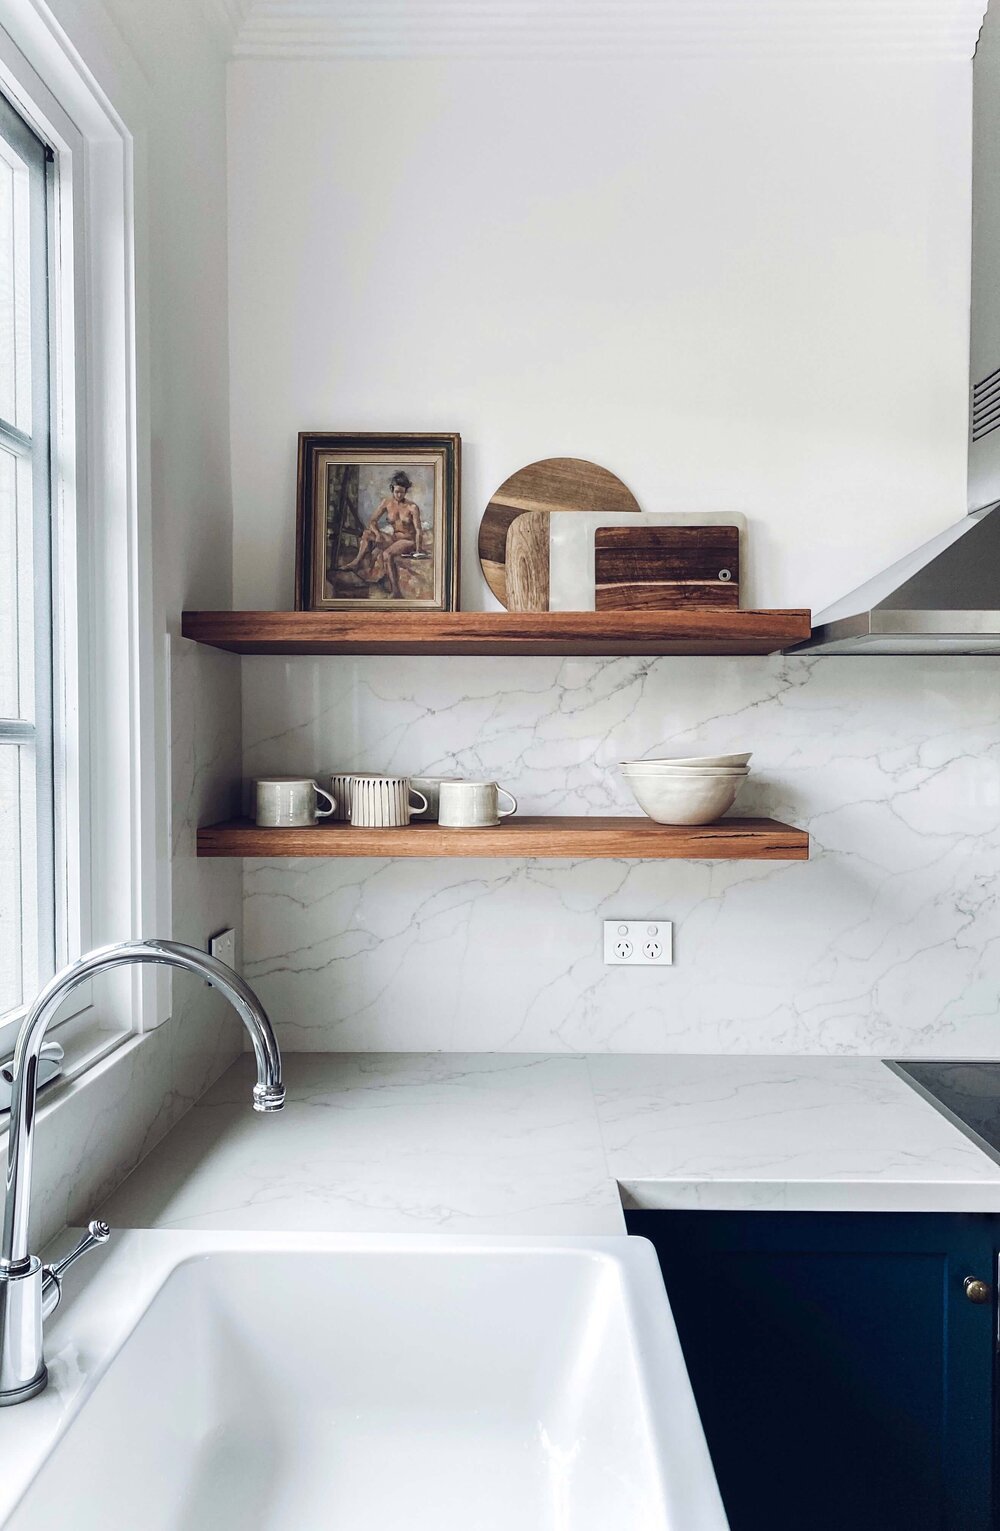
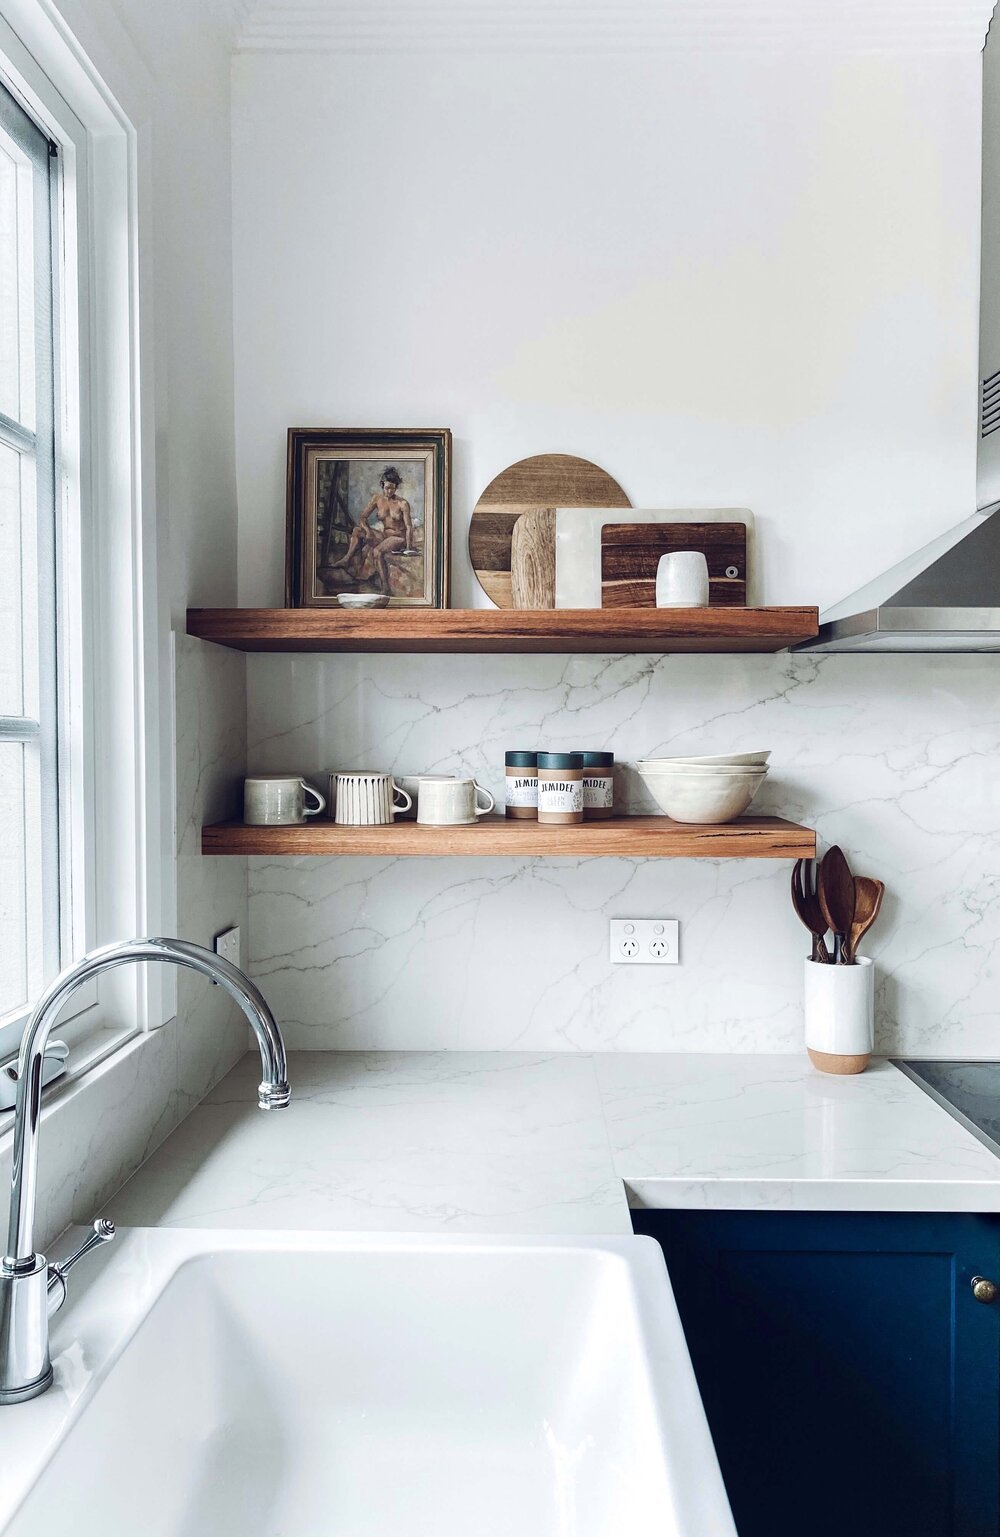
Be practical, put items you use regularly within easy reach as pictured here, Mugs, and crockery, And the things you use less frequently such as platters, vases or cheese boards on the top shelf.
STEP SIX
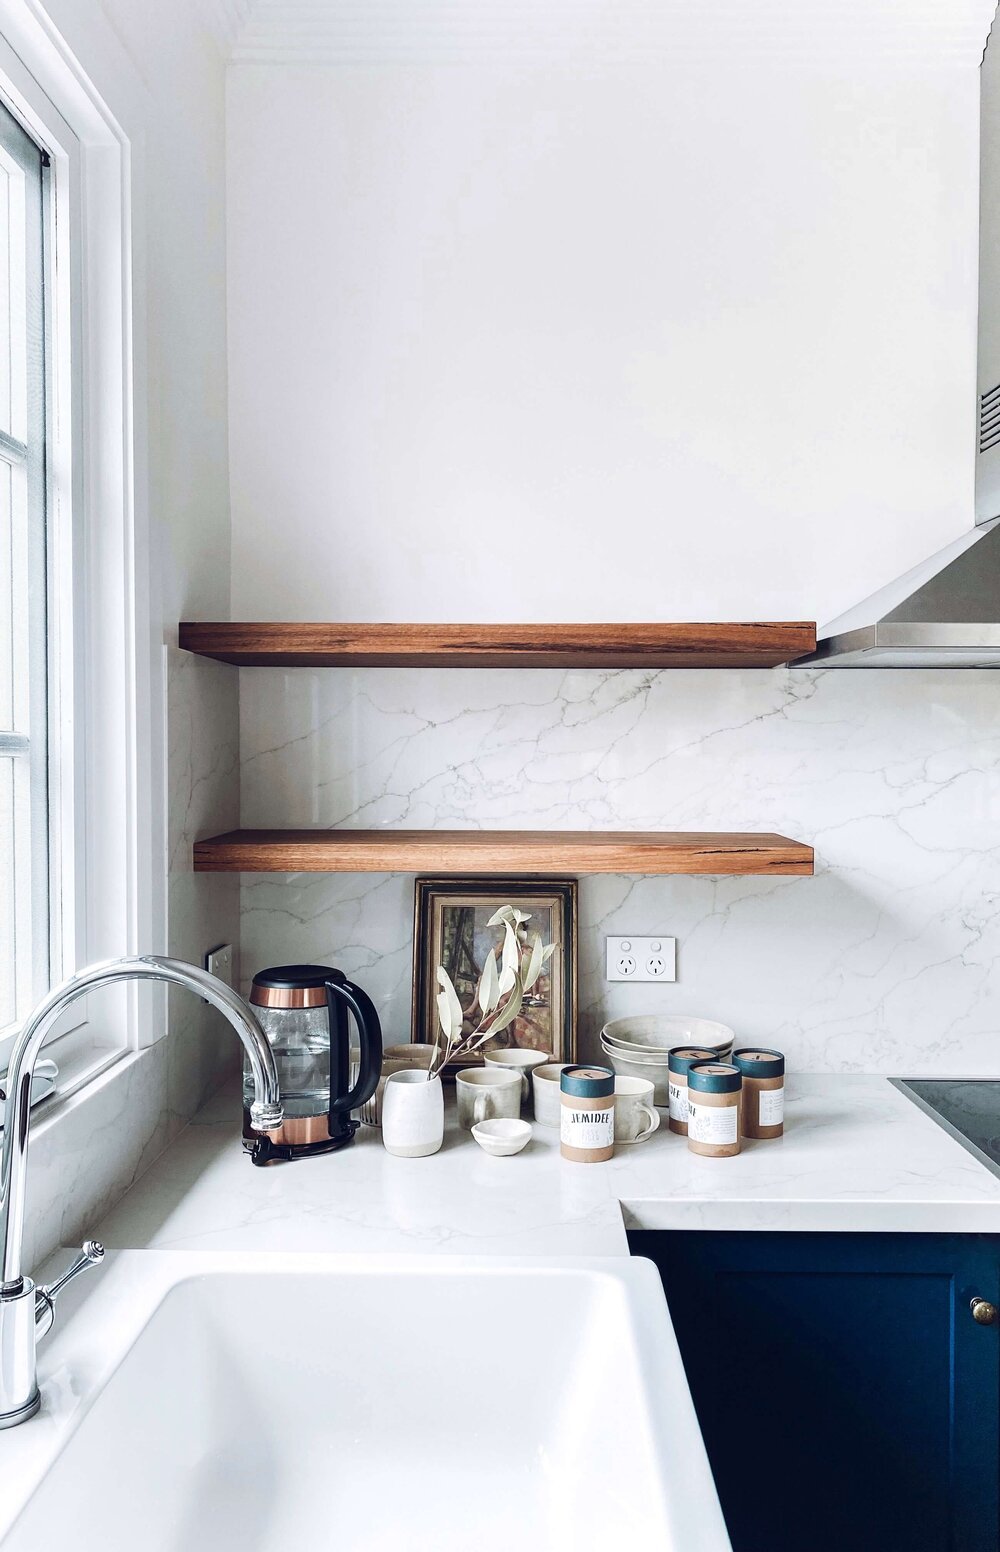
Fill in the negative space and layer objects, with different heights and shapes. This adds depth and personality. E.g pictured here I have added a handmade vase and a trinket bowl on the top shelf.
When filling in the negative space, be careful not to overfill the shelves and make them feel cluttered. To create a more open and clean look, allow plenty of breathing space around the items.
STEP SEVEN
Make sure to have elements that complement the colours and tones with the objects you have on the shelves to what you place on the countertops so it feels cohesive and balanced. (Pictured here, vase with utensils with colour tones as seen on top shelf.)
STEP EIGHT
Plants or greenery!
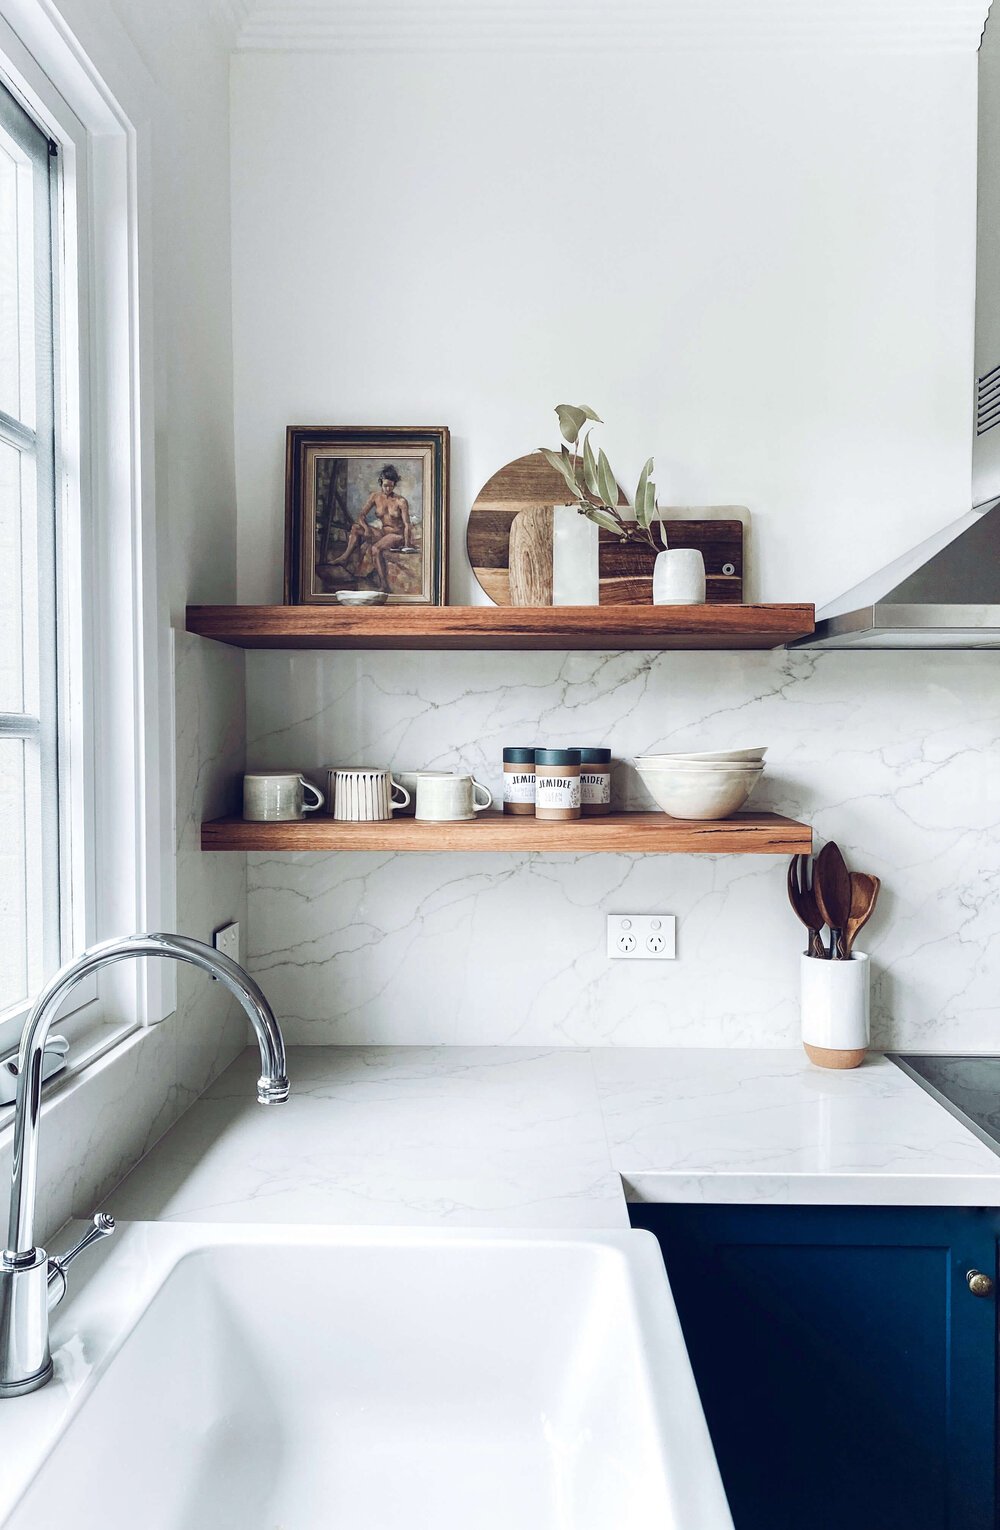
Adding a touch of greenery, plants, branches or flowers brings freshness to a space along with making the entire space feel lived in, more personal and welcoming, no matter what shape or size, every shelf needs a life and nature!
STEP NINE
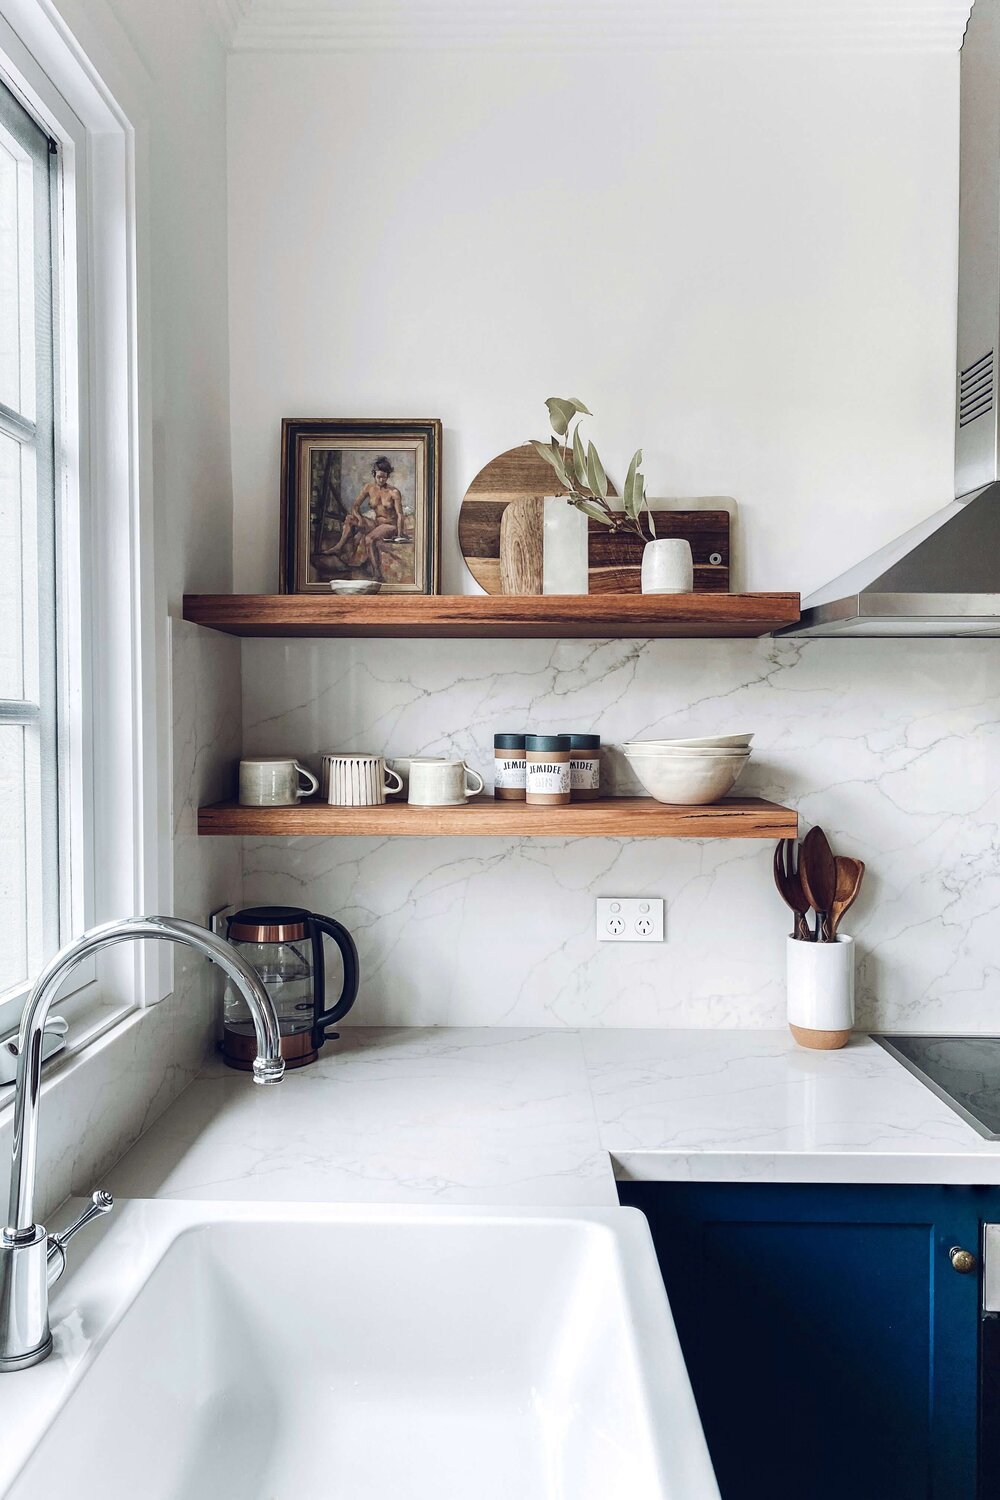
Further practical elements, pictured here I have added the kettle, since this is the tea corner after all, and I drink a lot of tea!
STEP TEN
Step back and evaluate the entire space. Is there anything you could add or want to change? If there isn’t anything to change, and you’re happy, the shelves are done! I felt the need for one more touch of nature!
Recent Posts
Follow Maddy Evennett

